
02 Feb 5 Tips We Swear By For A Successful Envelope Calligraphy Job
To prep for a year ahead filled with way more weddings and celebrations than last, we wanted to discuss envelope jobs and how to set yourself up for success when taking on this type of calligraphy work!
Addressing envelopes as a calligrapher is both a physical and mental challenge. Your hand will be sore and your back/neck too if you’re not careful with frequent posture checks and walking breaks but the end product is so rewarding. We always tell our students that envelope addressing takes hours (approximately 10-12 envelopes per hour) so to plan accordingly with both your time and the price of your work!
To make the most efficient use of your time (girllllll we see you working late night hours after your day job!) we’ve outlined 5 tips that seriously help make your calligraphy envelope orders a breeze and avoid some midnight tears before the day they are due. We’ve been there so learn from our mistakes and check out our fool proof prep work!
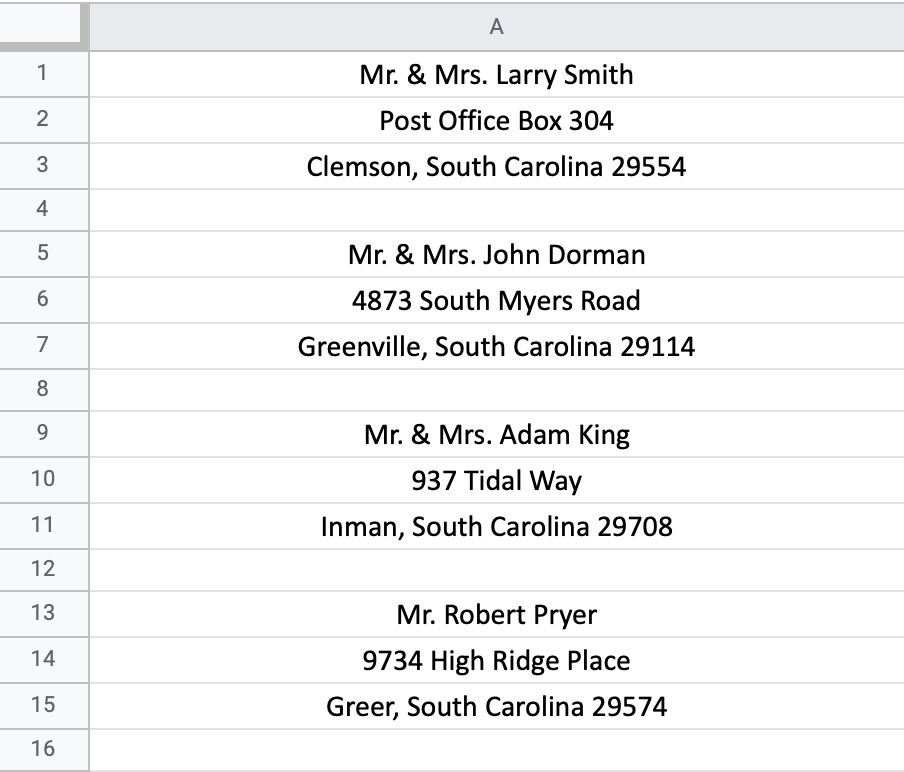
Center addresses in Excel
This is VERY important! You want to make sure you ask your client to send you their addresses EXACTLY how they want them written on the envelopes. For example, are you writing Mr and Mrs or first names only? Are you including the zip code after the state or a separate line below? Send them photos of different examples that you offer and make sure to get on the same page with details like this before you start.
Once they have their guest lists finalized, ask your client to send the address list to you in excel or google sheets and format them centered. This will help tremendously when it comes to actually writing them because you’ll be able to visualize the spacing of each line as you write. The centering is a MUST (as opposed to an excel sheet with the info in horizontal rows) so you know exactly where to start your next line.
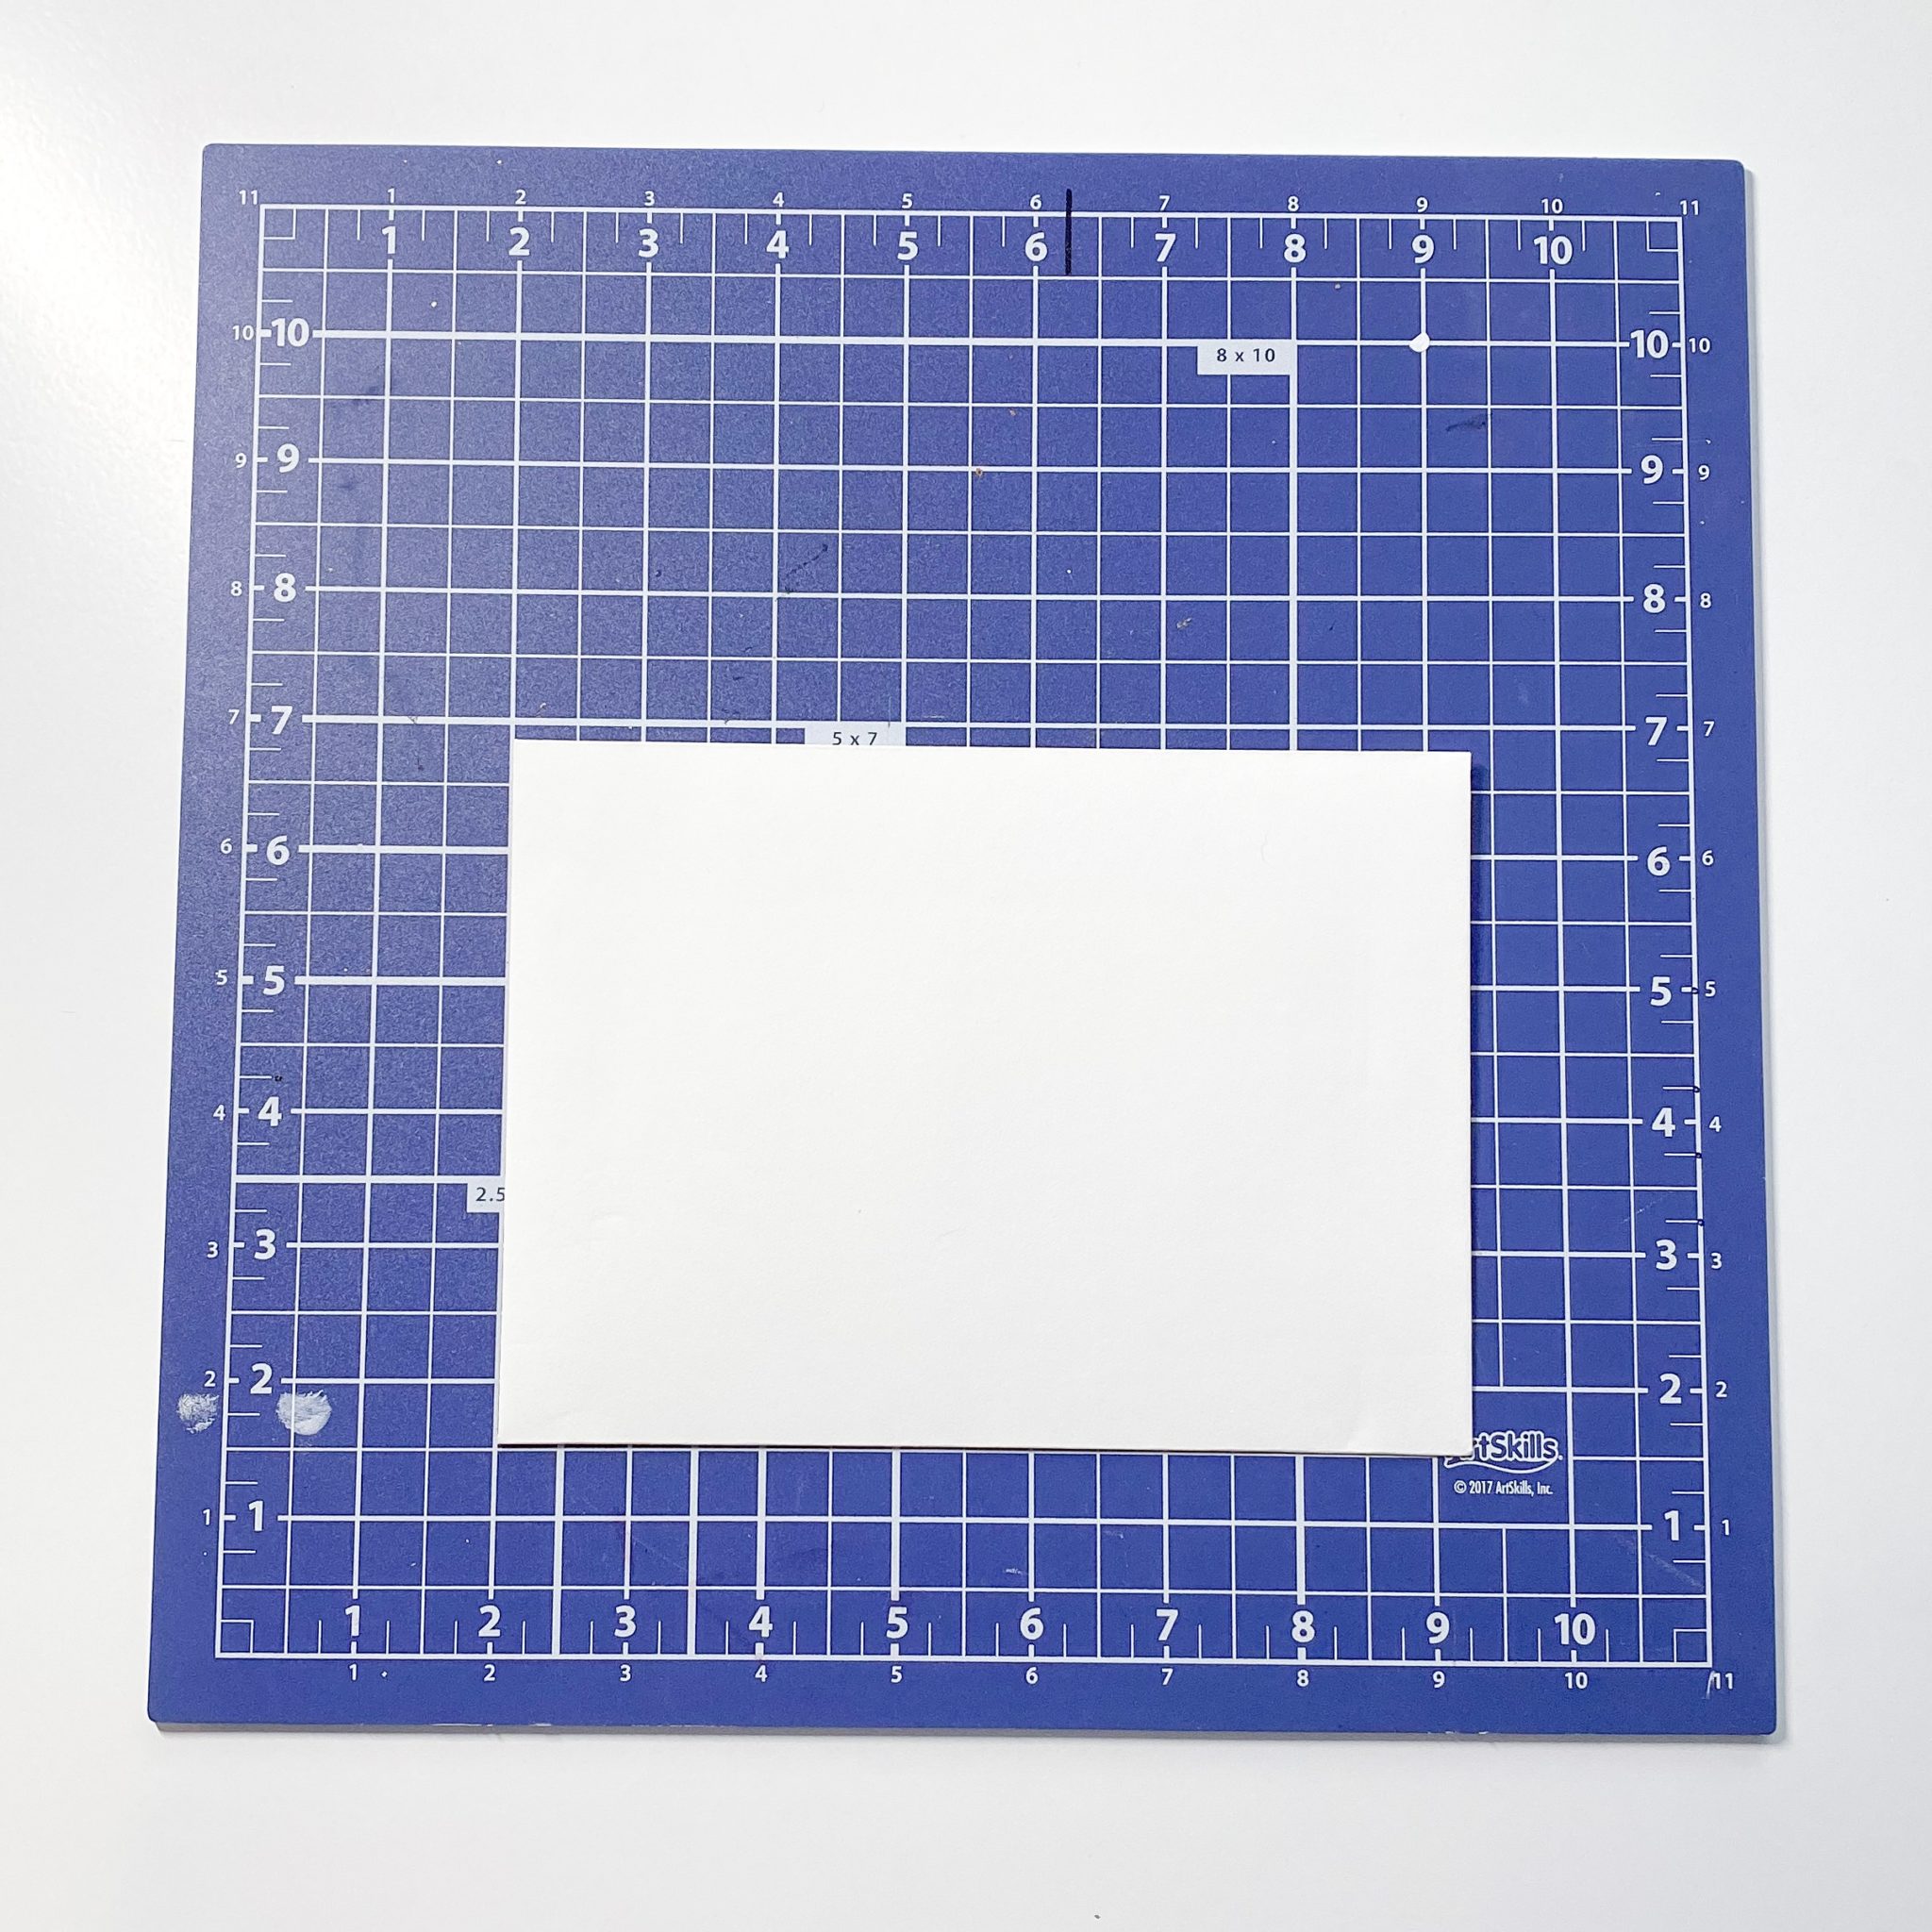
Use a cutting mat
These are super easy to find! Pick one up at your local Dollar General, Wal-Mart, or Amazon. It is a must have to keep everything straight on the envelope! My cutting mat is 12 X 12, you don’t really need anything bigger than that for envelopes!
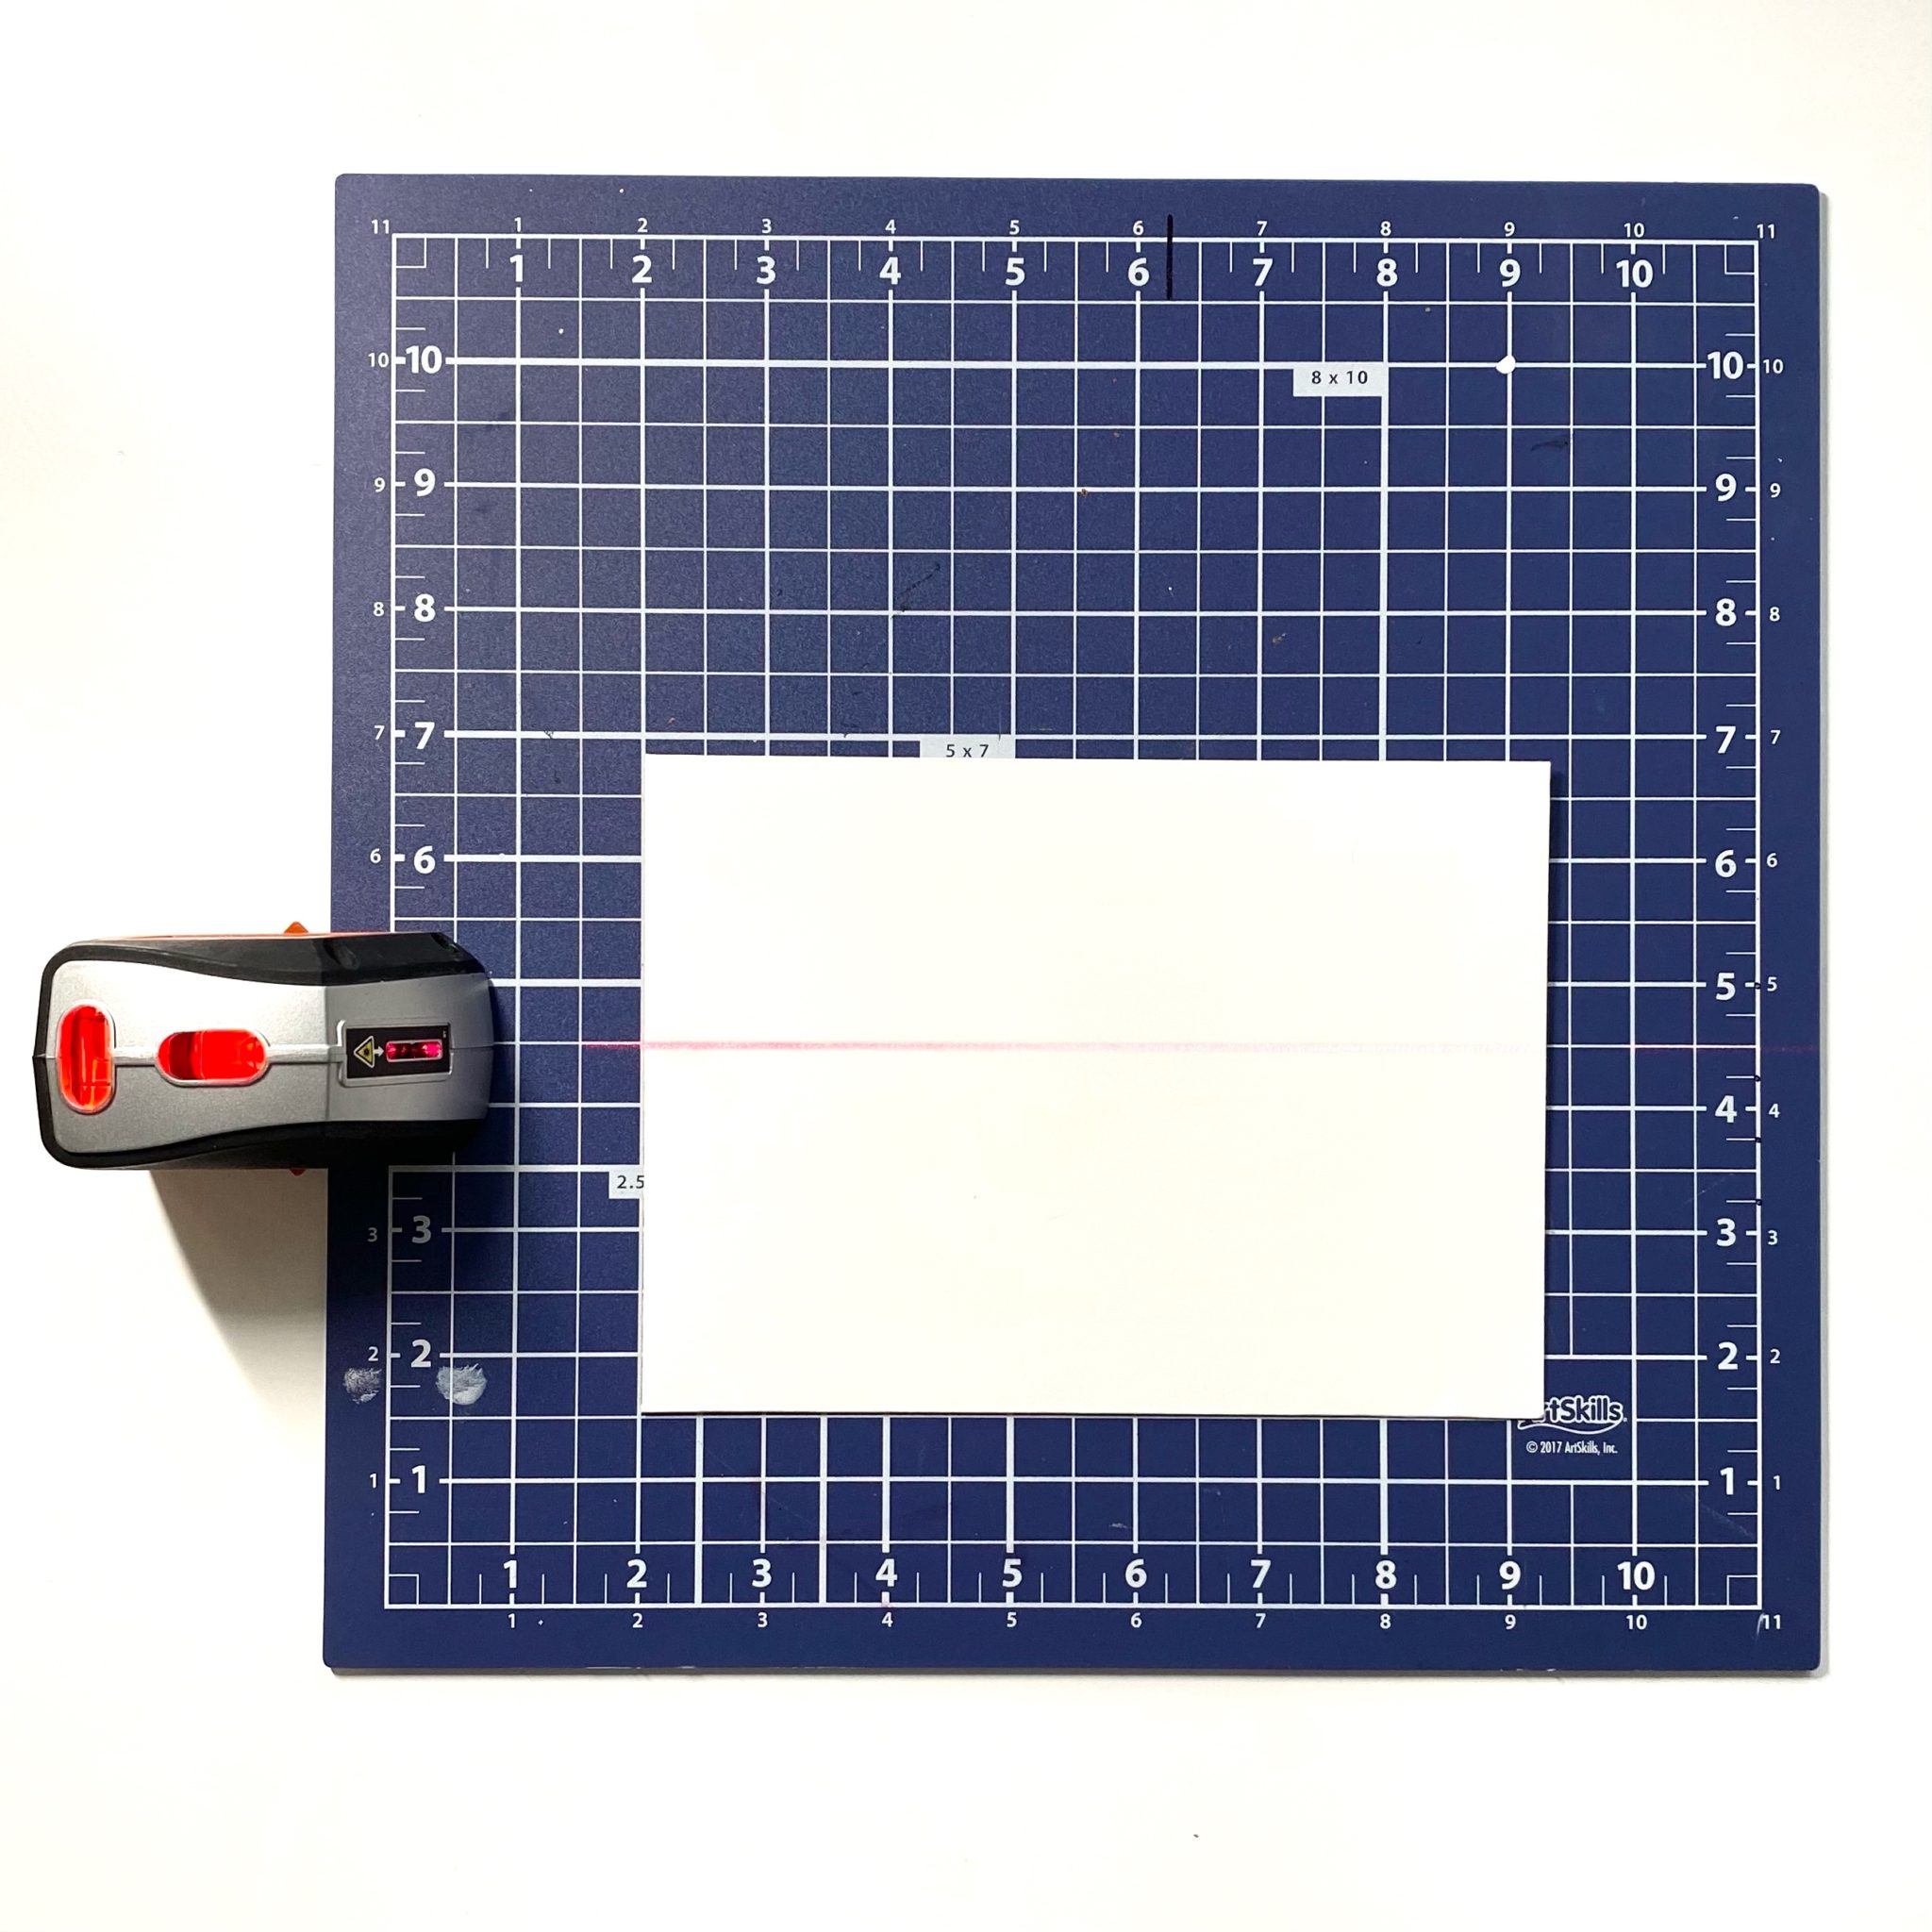
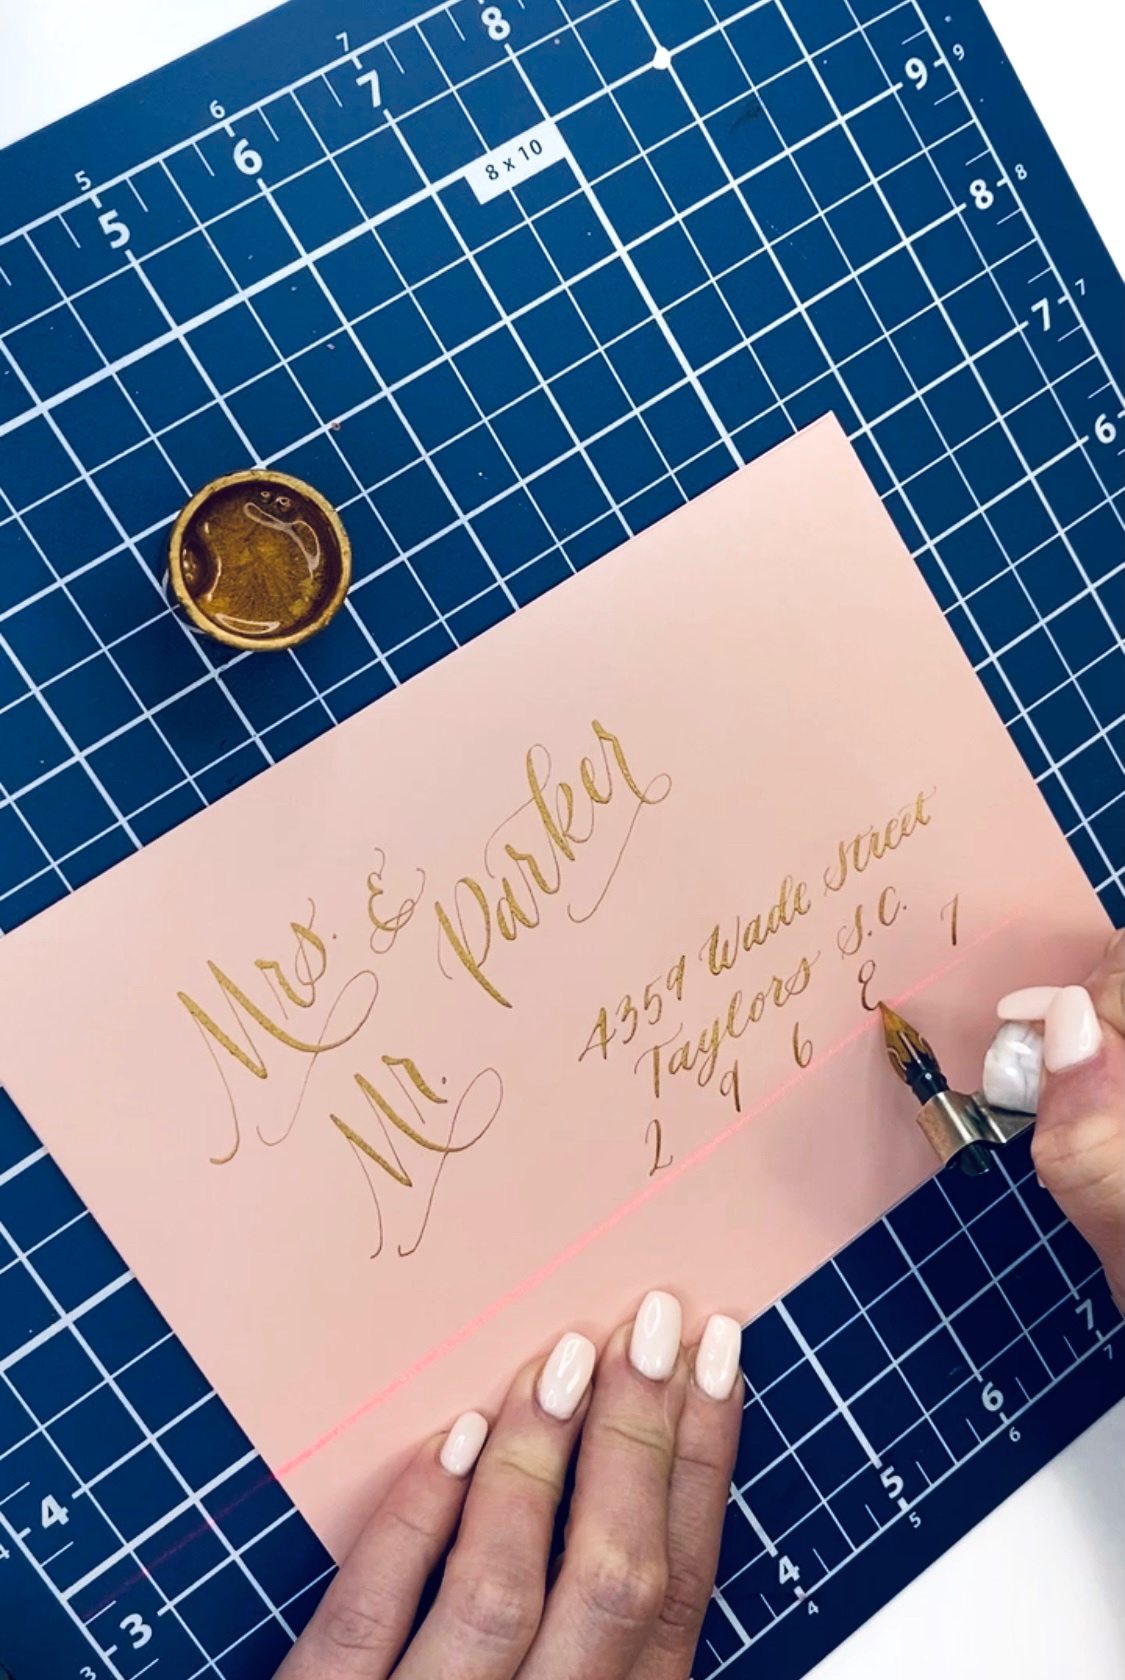
Use a laser to keep your lines straight
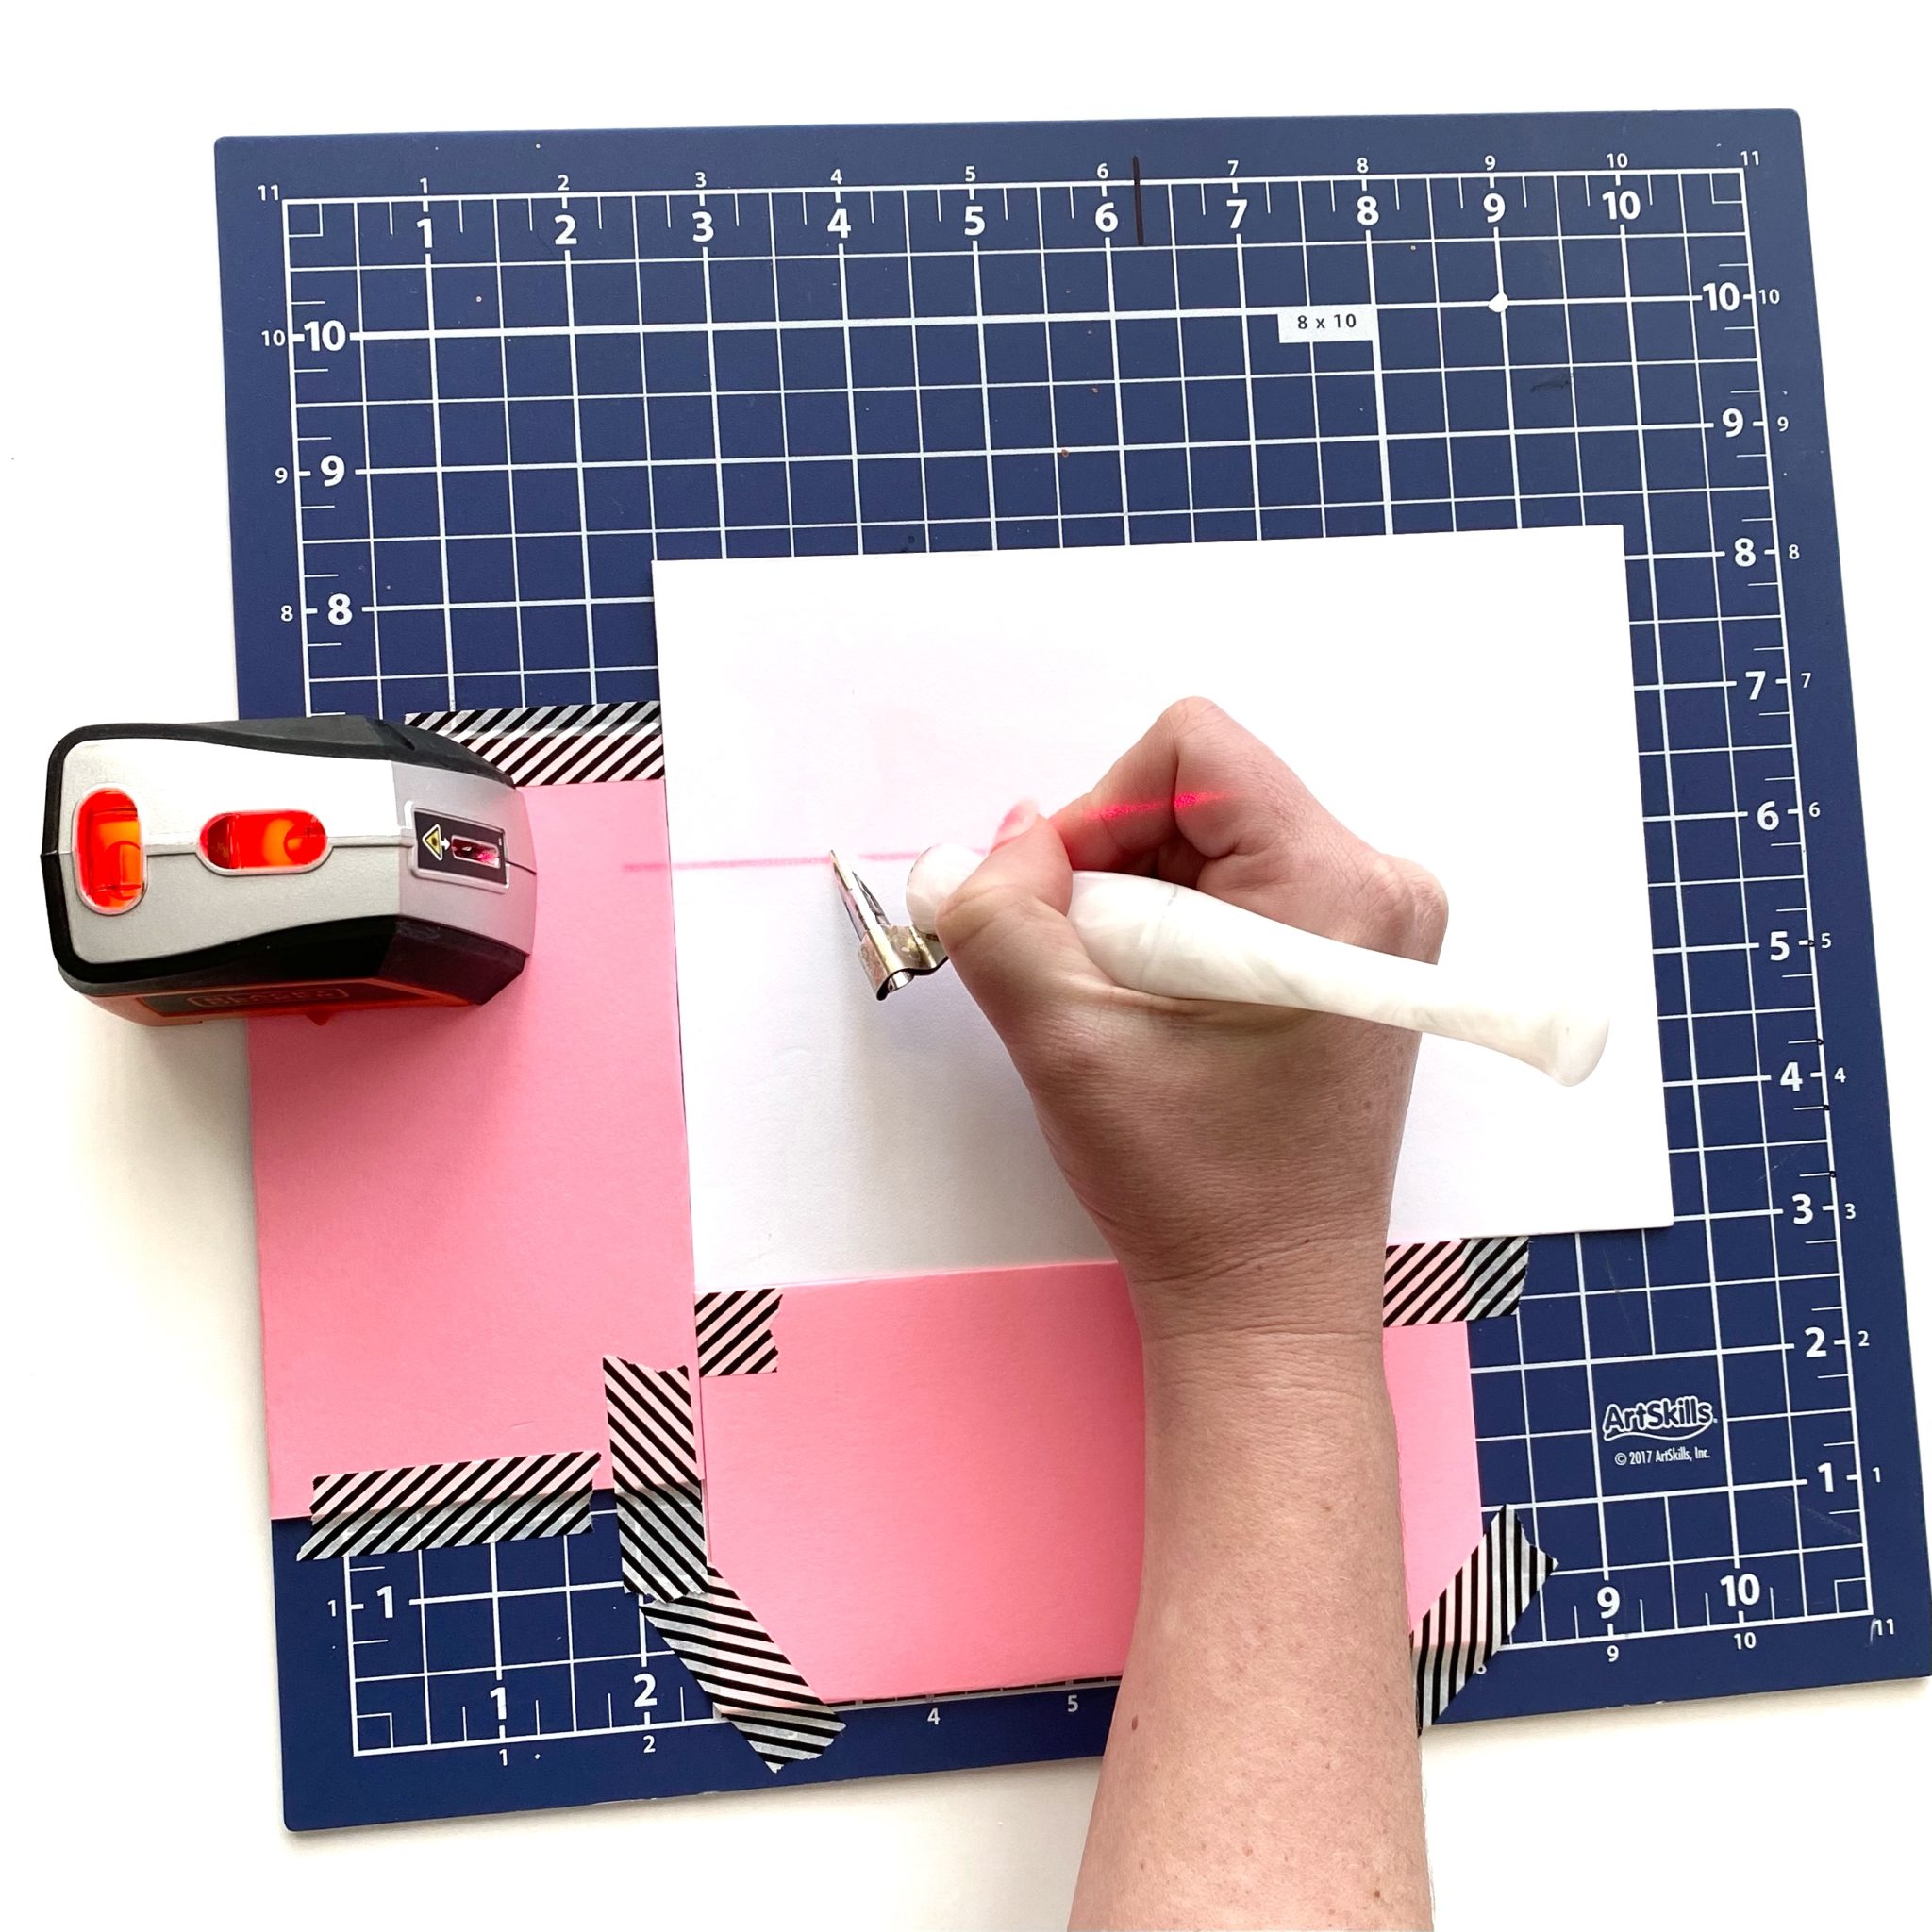
Ever wonder how we keep those lines so straight while addressing? Lasers! You know the ones you use to hang a picture straight on the wall? Yep, those! All you have to do is move the laser down on your grid sheet as you move to the next line! I know some calligraphers line their envelopes with pencil but this saves you so much time at the end not having to erase!
Make sure the envelope doesn’t move while you’re writing
I like to use a clear see-through clipboard on top of my grid sheet cutting mat. If you don’t have a clipboard handy, you can always fold up some heavy card stock and tape it to your grid sheet so the envelope sits nicely against the card stock and doesn’t move, see below the pink paper taped down. (Not the prettiest way to do things, but it works!)
Extra envelopes!
ALWAYS make sure you let your client know you need 10-15 extra envelopes with any envelope job, especially those that are 50 envelopes or more. We are only human and definitely make mistakes! Nothing is more stressful than having no room for error, or ink blobs or smudges! I have never actually used all the extras, but better safe than sorry!
We’re curious if you have any tips you swear by that we haven’t mentioned?! Help a sis out and let us know!

No Comments