
14 Jan 5 Calligraphy Tips You Need To Know Before Beginning!
Learning calligraphy can seem a little daunting at first, but with the right tools and enough practice, anyone can learn to write with ink and a dip pen!
1. Build your toolkit
To begin learning calligraphy, you’ll need several items- a straight holder (or oblique), a nib, ink, and paper. It can feel overwhelming at times because there are so many tools out there, but when building your kit, we recommend starting slow! Focus on the basics first: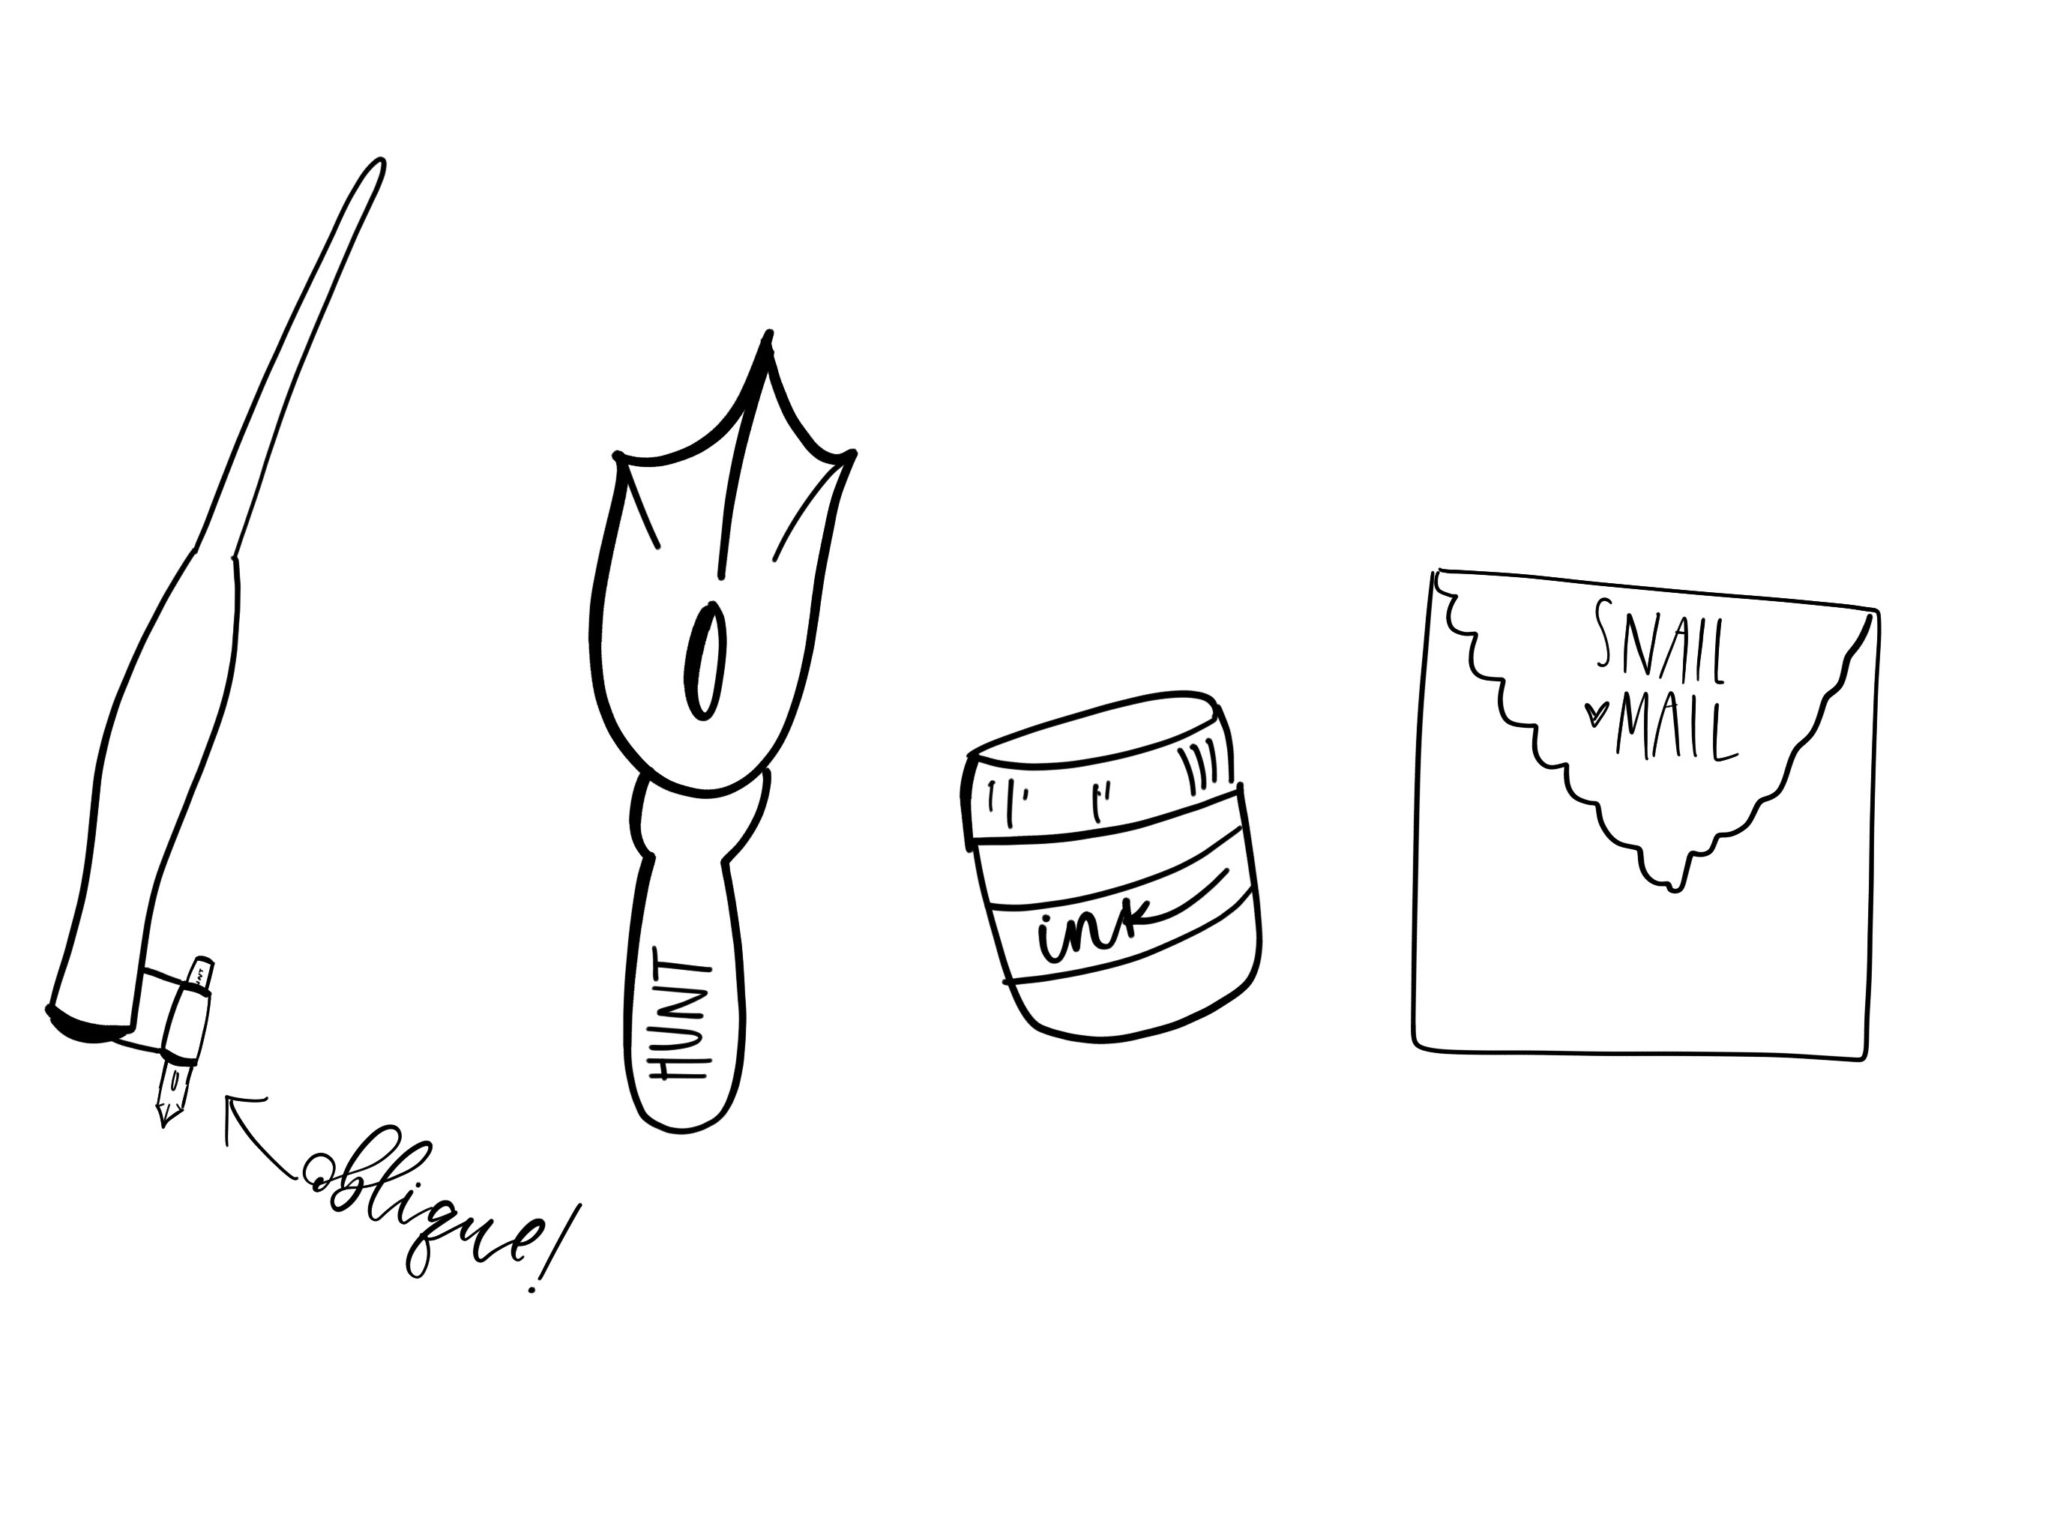 Ink– we always recommend starting with black ink. We use Sumi ink in class and find that it works really well for both beginners and professionals. There are tons of inks you can purchase or make on your own, however, keep it simple to start!
Paper– When it comes to paper, you want to make sure it’s going to be thick enough for the ink to be absorbed. Although it may be tempting to grab a bunch of computer paper that you have lying around, it won’t work too well because it’s very thin. Make sure the paper you choose is thick enough for the ink! Our picks: tracing paper, Rhodia pads and watercolor paper.
Nibs– There are so many nibs out there and each calligrapher has their own preference. The best way to learn what nibs you like is to purchase sample packs! We love Hunt 512, Hunt 101 and Nikko G nibs to start!
Pen– we recommend starting with a straight holder, but feel free to also grab an Oblique pen to see if it helps your own writing! We like to give oblique pens out to our lefty friends because it really helps to achieve the desired writing angle!
When you’re looking to advance, check out our intermediate kit!
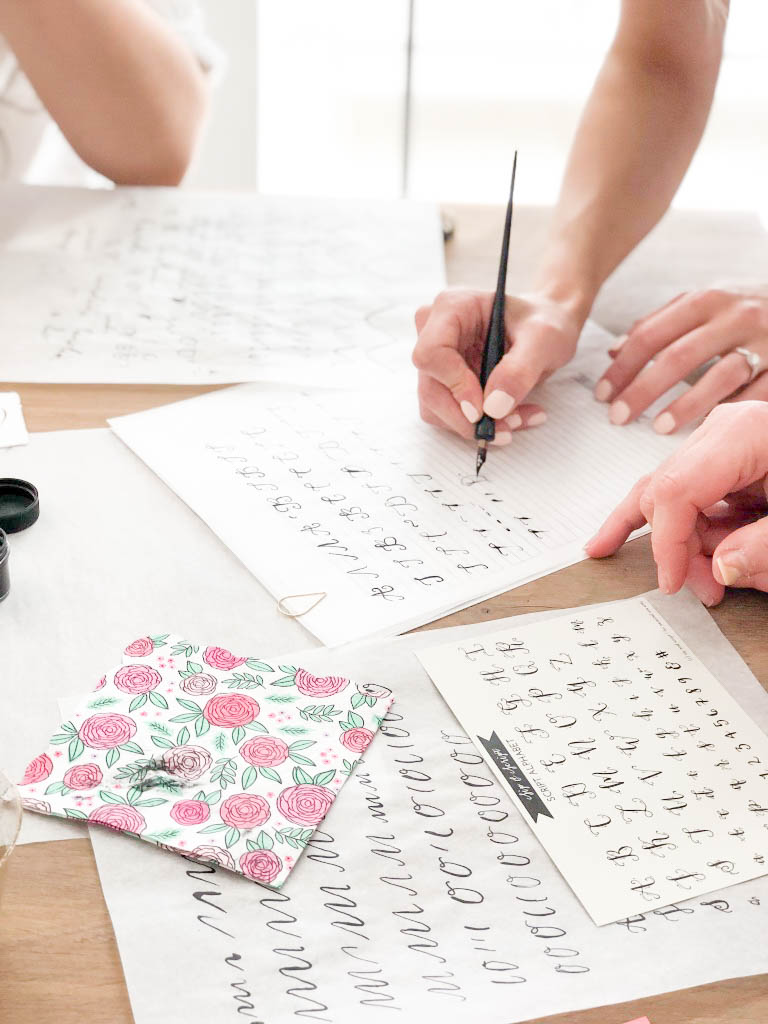
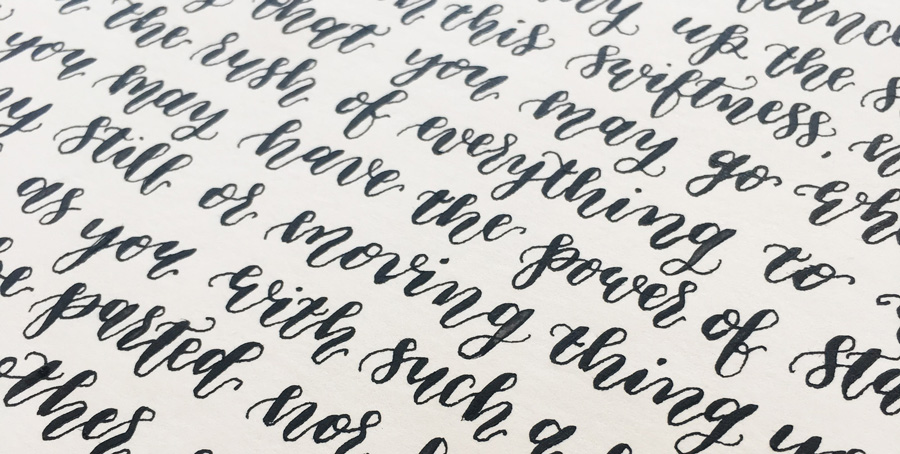
2. Practice
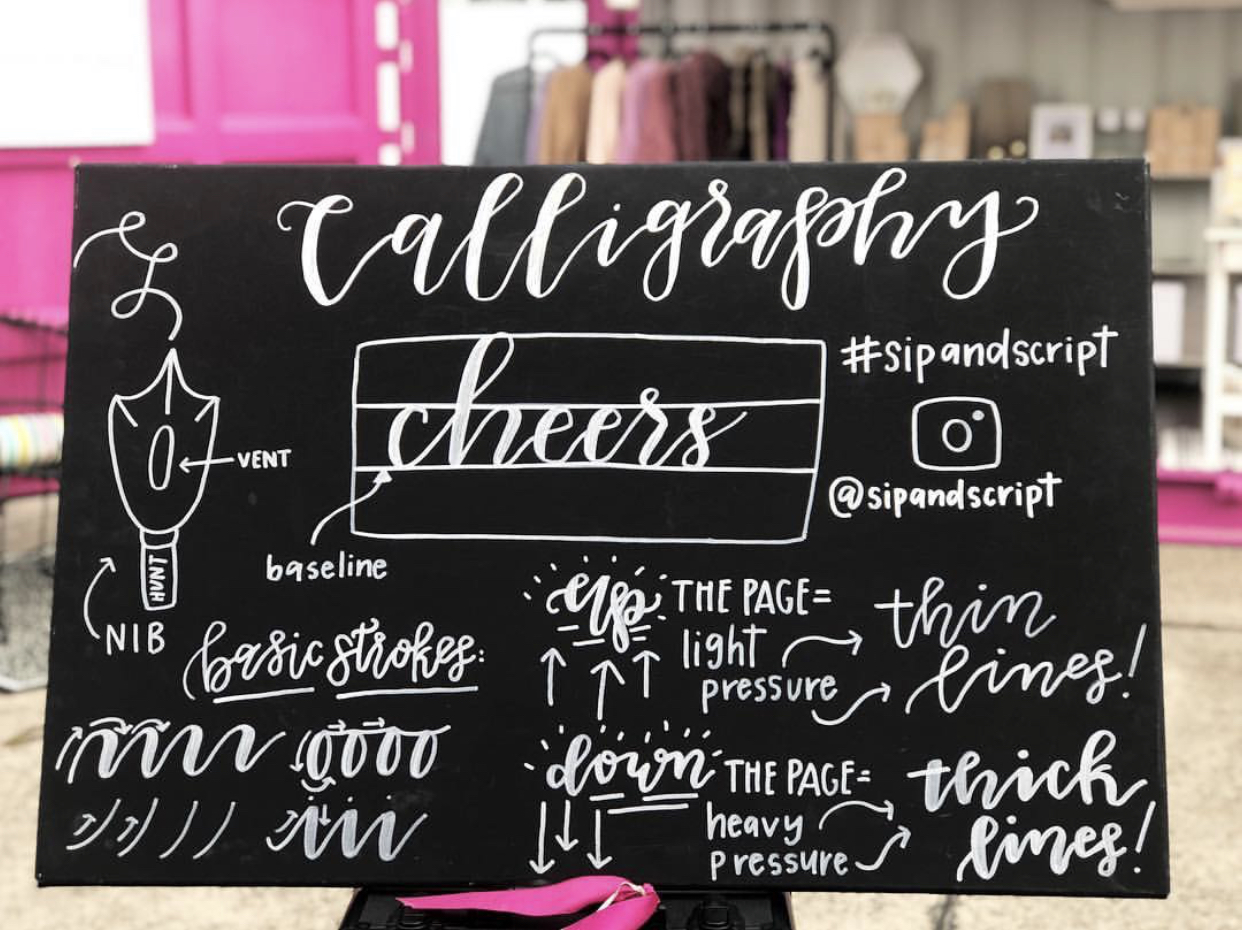
We wish there were a trick to would speed up progress, but when it comes to getting better at calligraphy it really does come down to how much you practice! We always recommend starting your practice with a warm-up of basic strokes, but don’t forget to also have fun with your writing and get creative!

3. Know about your nib!
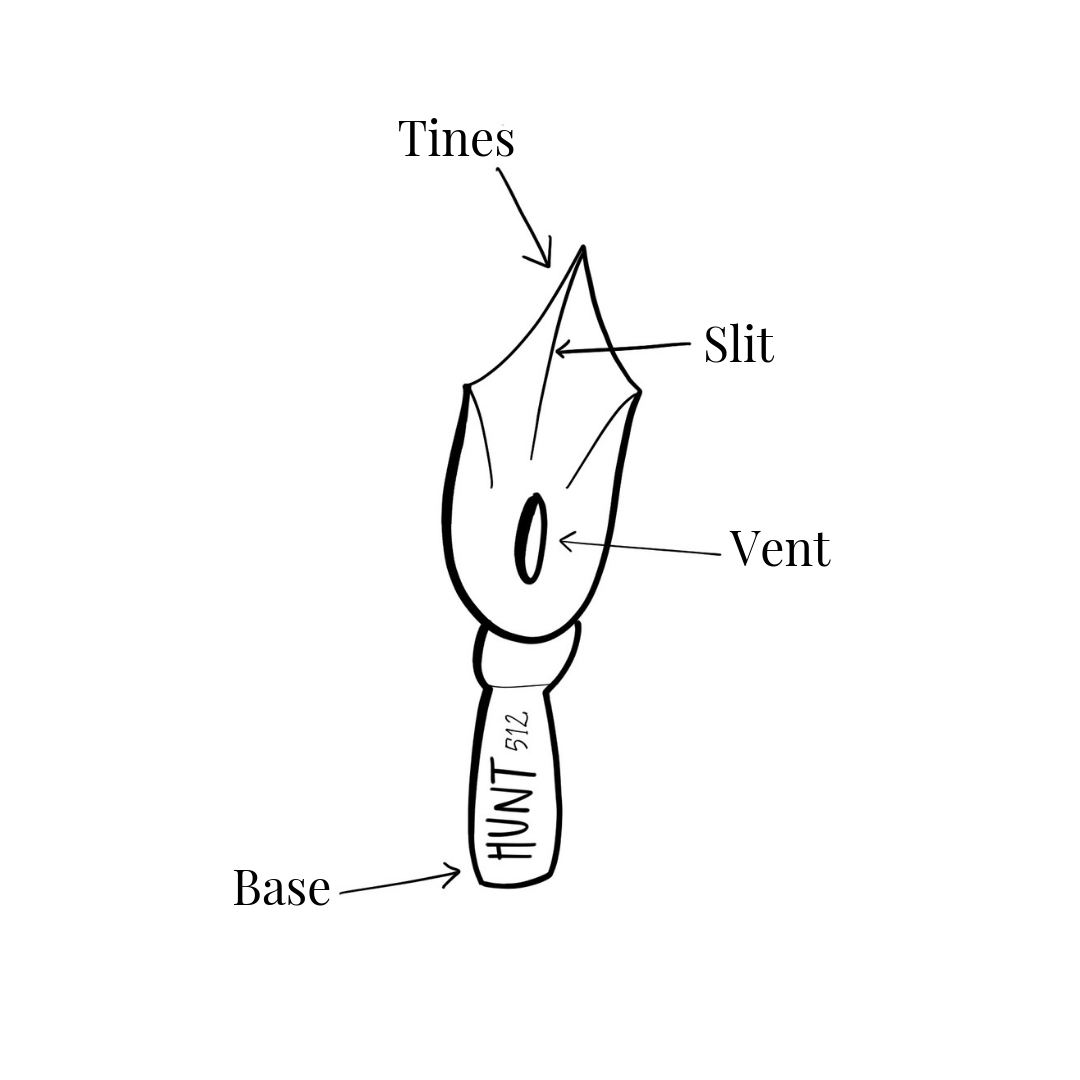
Like we mentioned above, there are so many nibs out there and we suggest trying out as many as you can! But regardless of which nib you choose, they all have very similar anatomy and it’s important to understand how the nib works. The nib is a flexible piece and when pressure is applied to the tines, the slit opens and closes.
 *Bonus tip: keep a cup of water and a paper towel on hand while you practice. After writing for a while, your nib can get sticky, and the ink can get thick, ultimately affecting the ink flow. For best results, rinse your nib off throughout your practice!
4. How to hold the pen
One of our most FAQ’s is how to correctly hold the pen. When you think about writing with a normal pen, you typically hold the pen in a vertical direction. But with the dip pen, you want to make sure that your tines are even on the paper. Keep your hand under the pen and make sure the tip of your pen is always pointing towards the top of your paper. Every time you pull your nib up, you don’t apply pressure. When you pull your nib down, you apply pressure, letting the tines open, ultimately giving you a thicker stroke variation. Upstrokes = light, downstrokes = heavy!
5. Attend a class!
Whether you’re a newbie to the calligraphy world, or you’re looking to advance your skills, taking an in-person class can help so much! Being able to receive instant feedback on your writing, as well as have questions answered, helps to ensure you’re learning the skills properly! Bonus points if you take a class with us!
We hope that these tips help you start your calligraphy practice! As always, we love to see what you do, so tag us on Instagram using #sipandscript.

Maryam Imran
Posted at 10:48h, 13 JuneThanks, this was sooo helpful!