
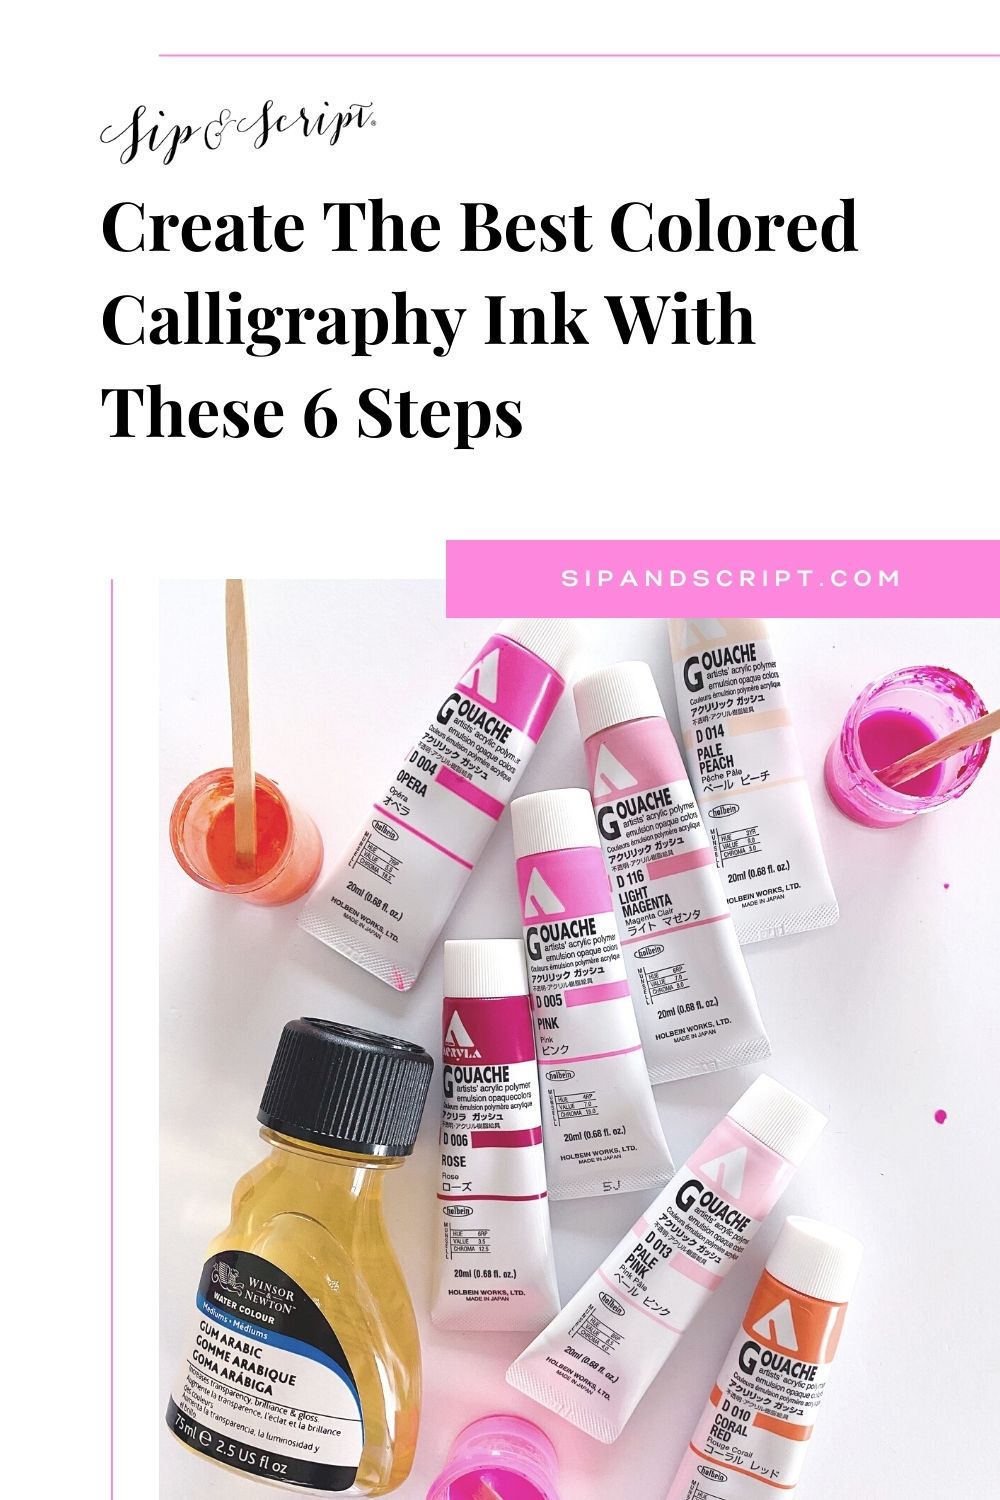
24 Sep Create The Best Colored Calligraphy Ink With These 6 Steps
If you’ve taken one of our Sip & Script classes before, you know that we love our Sumi ink so much, but let’s be real – – – adding a pop of color to some snail mail makes it so much more festive! We get so many questions about ink: where to buy it, what colors are available, and how to make your own, so we figured we’d share one of our favorite ways. There are so many great inks out there, (like THIS metallic gold script-squad favorite!) but sometimes making a custom color is needed.
One of our favorite ways to make a custom ink is by using gouache. Gouache (pronounced “gwash”) is a basically a super opaque watercolor paint, and when mixed with water and gum arabic (a binding/thickening product), it makes an awesome ink for your pointed pen!
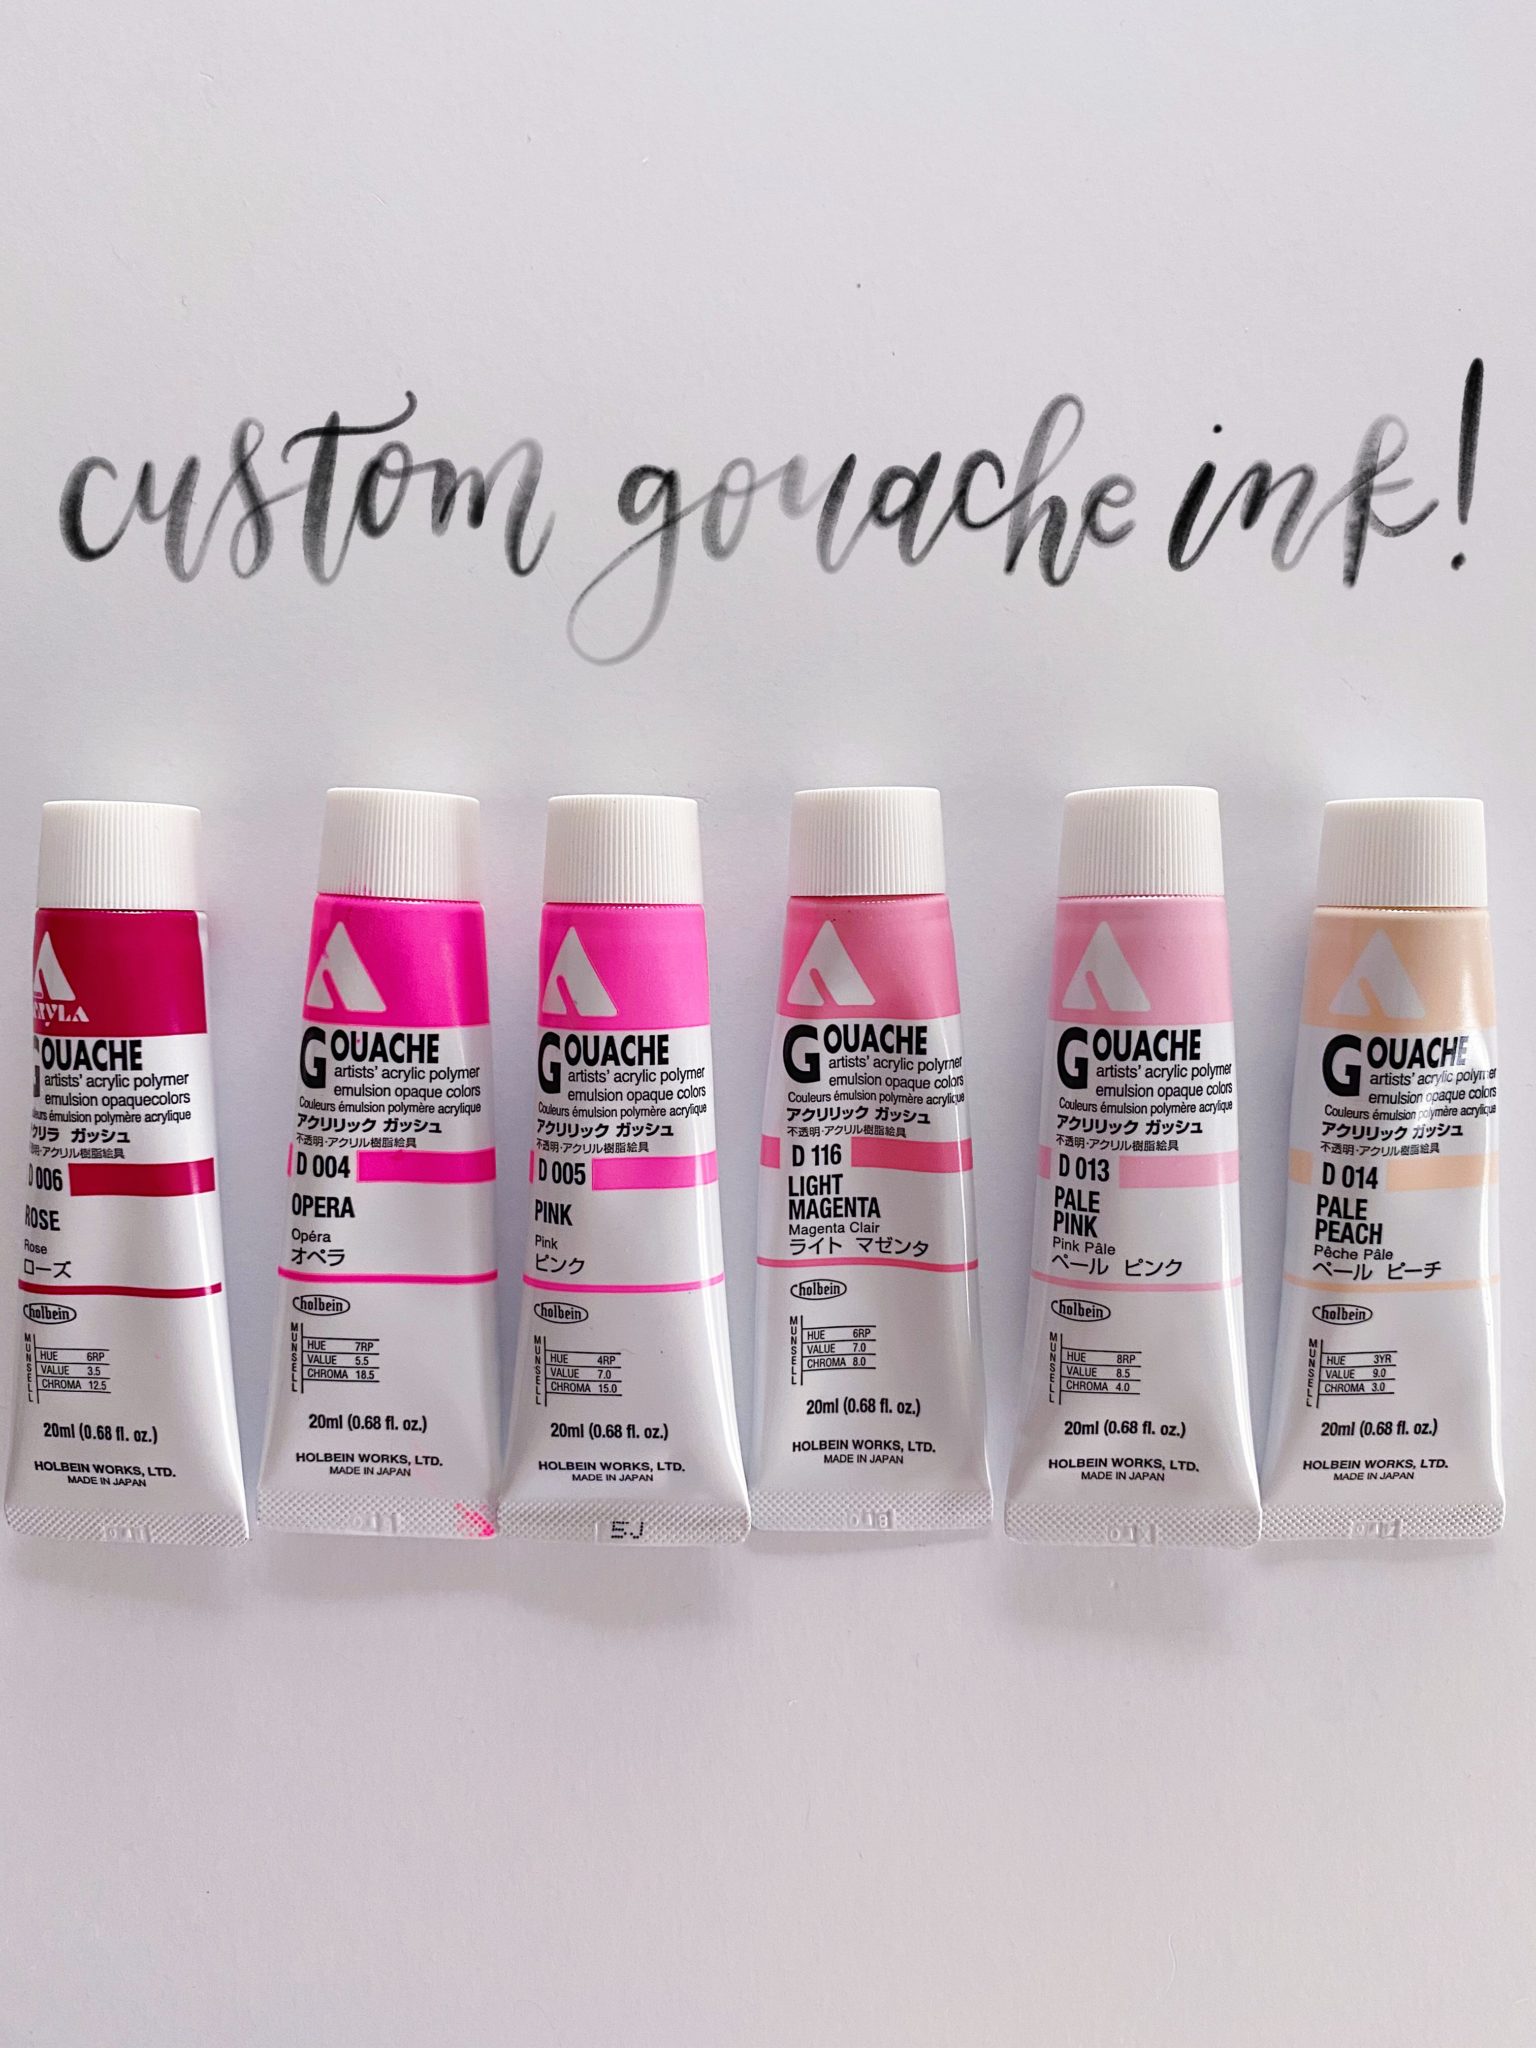
There are several brands of gouache out there, and if you’re lucky to be close to a local craft store, we definitely recommend running in and seeing what they have. Otherwise, Amazon is our BFF for all things calligraphy! We do recommend purchasing a higher quality gouache, such as Winsor & Newton because it is significantly less grainy, and mixes exceptionally well. Other brands that we love are Holbein Acryla Gouache (acrylic-gouache based paint that makes your writing water-resistant!), Sennelier, and Schmincke.
What you’ll need:
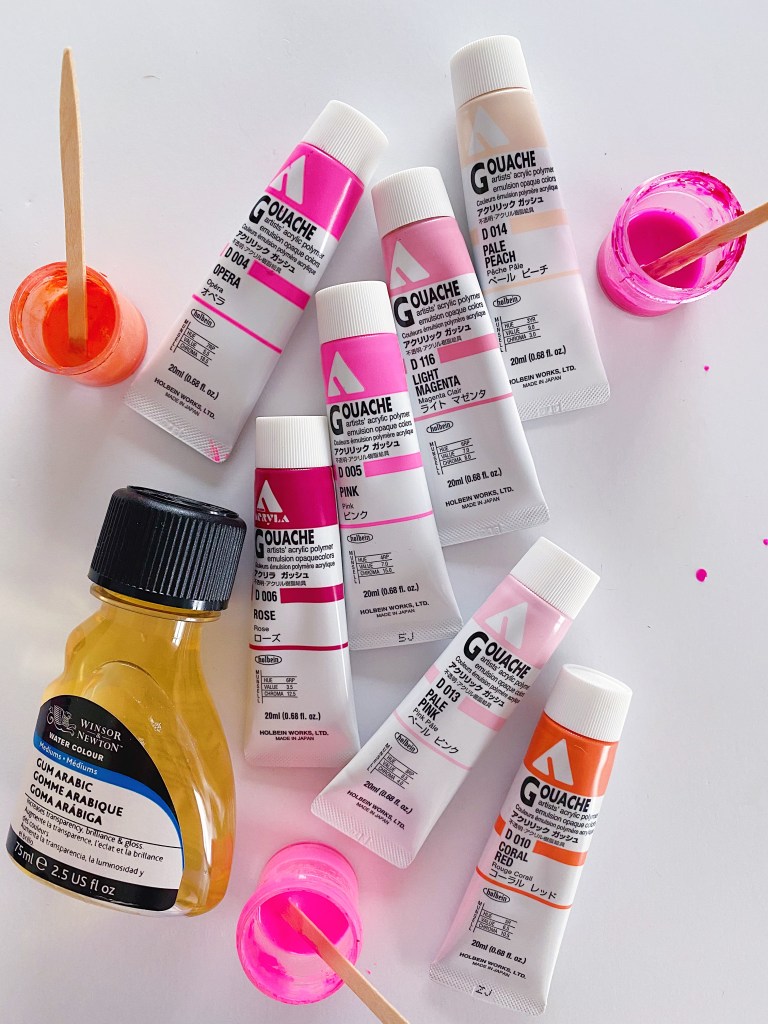
- gouache
- small jar/ink pot
- gum arabic – there is a liquid form and a powdered form. For making gouache based ink, we recommend the liquid form!
- distilled water
- water dropper* (optional, but very helpful to add water in slowly)
- paint stirrer* (optional, we often use the back of our plastic calligraphy pens!)
- scratch paper
- calligraphy pen/nib of choice
Mixing gouache:
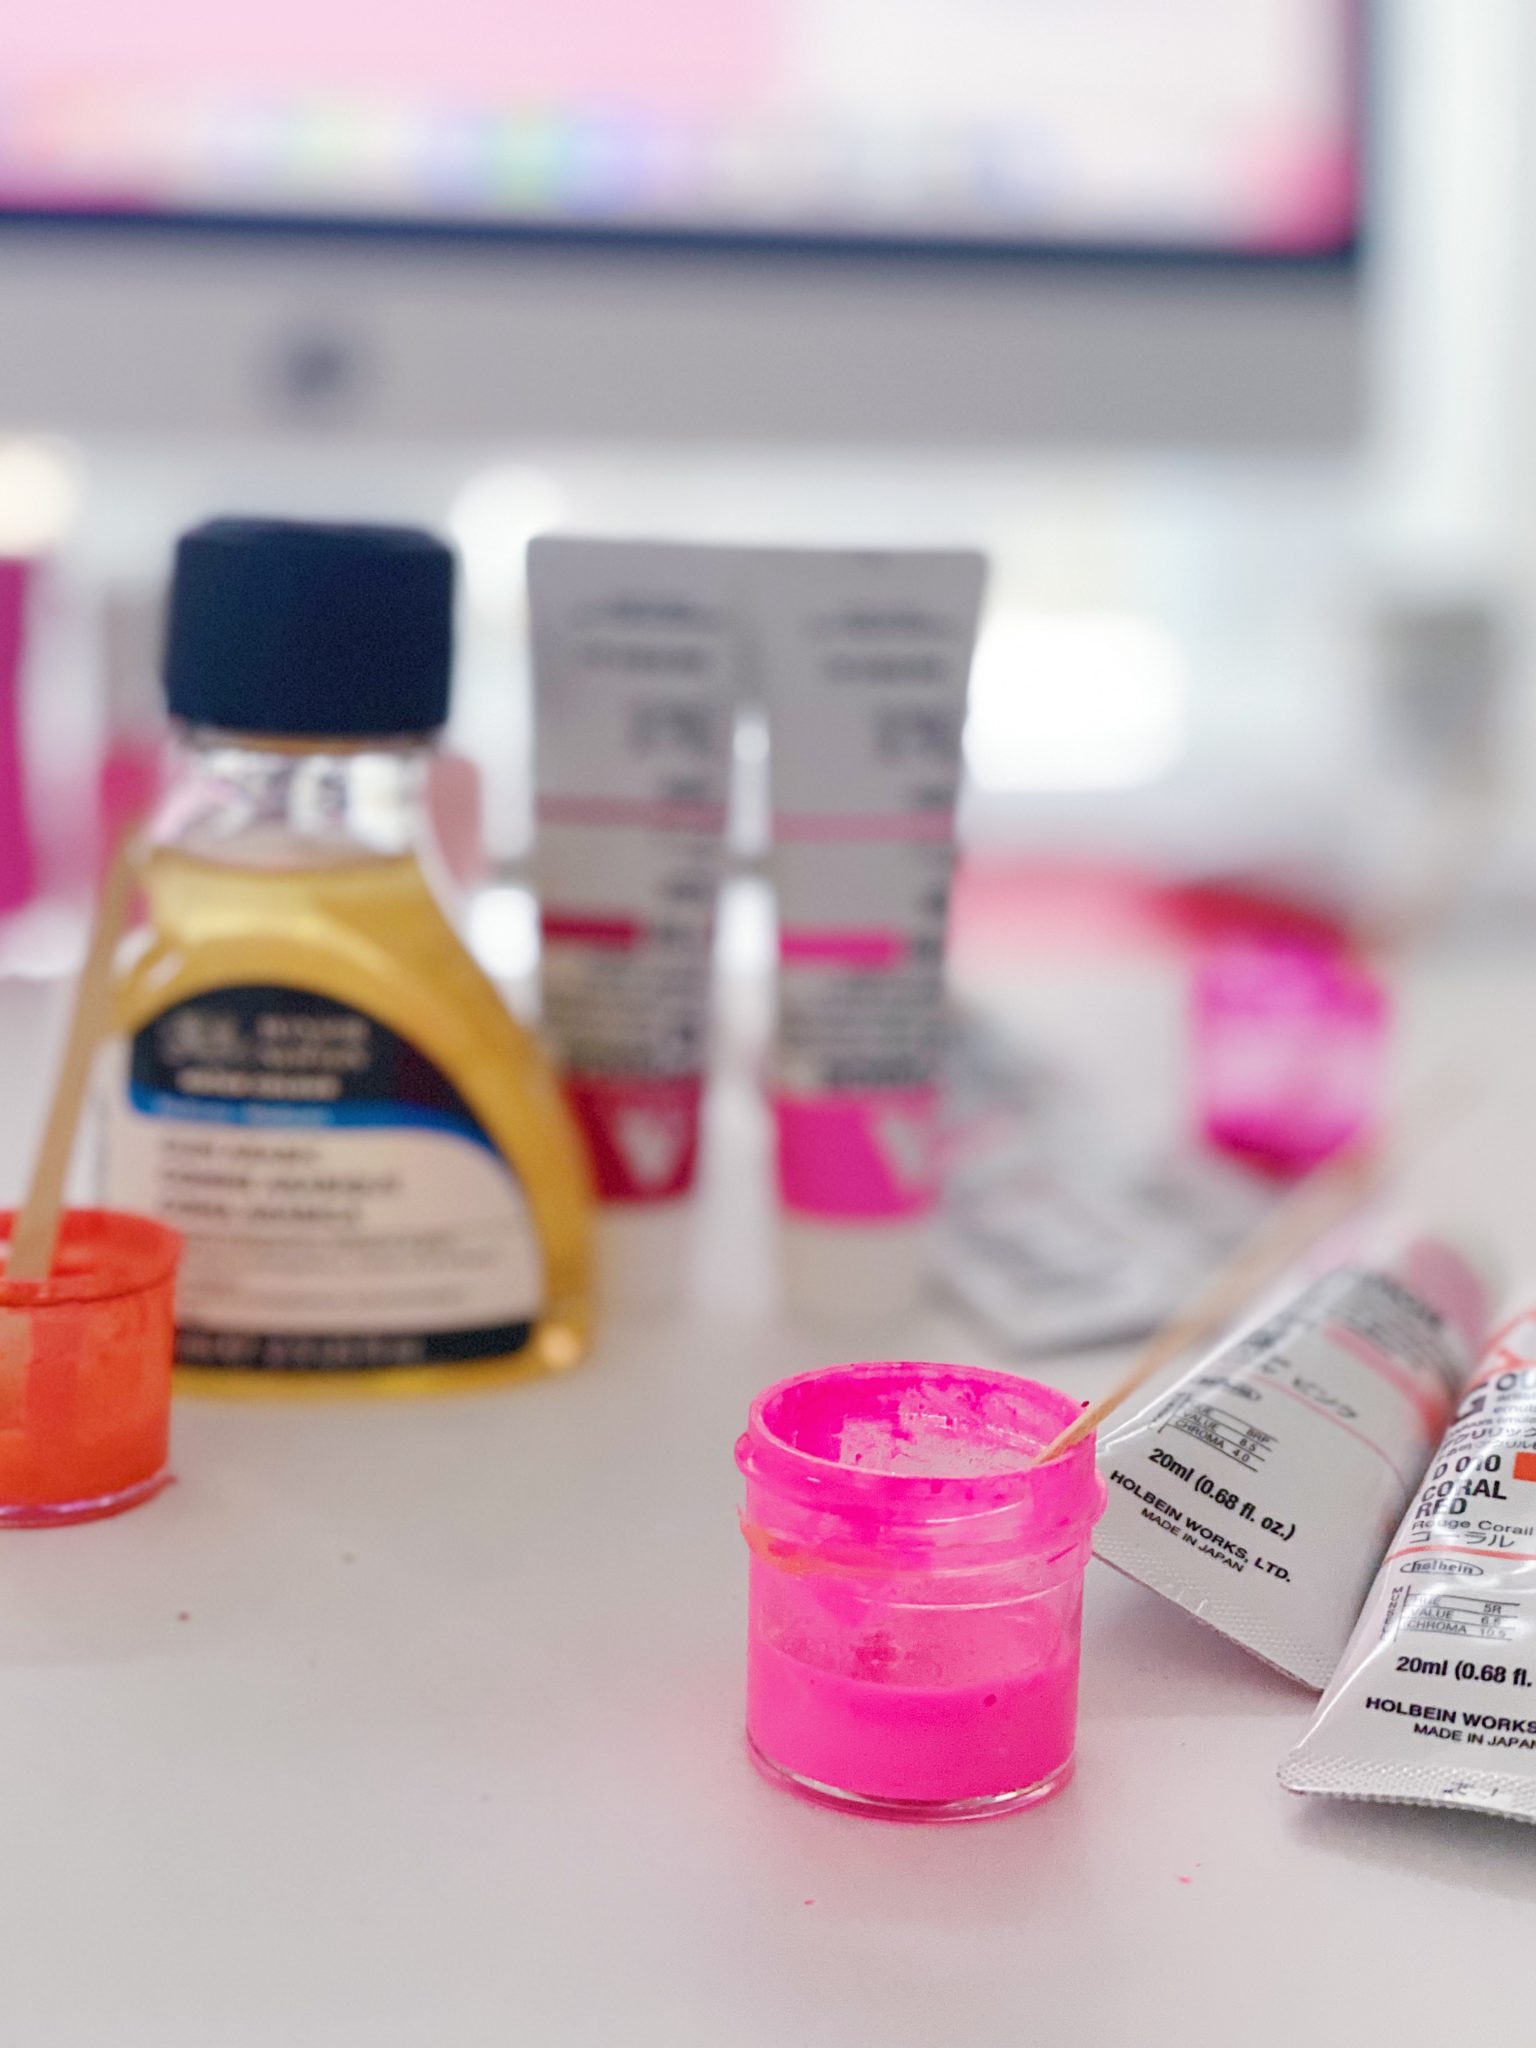
When making custom ink, it can get messy so make sure you’re doing it on a covered surface and have paper towels near by. We also recommend using a container that has an air-tight seal so you can store it away for future use. Here we used a clean mini honey jar!
Steps:
- Squeeze a small amount of gouache into the jar. If you’re only making enough for an envelope or a small project, just a few drops of gouache (~1-2) will do the trick. Otherwise, we recommend 4-6+ drops of paint to start!
- SLOWLY add water into the jar, start by adding just a drop of two (this is where the water dropper comes in handy). You don’t want to add water in too quickly otherwise you’ll end up with extremely thin ink.
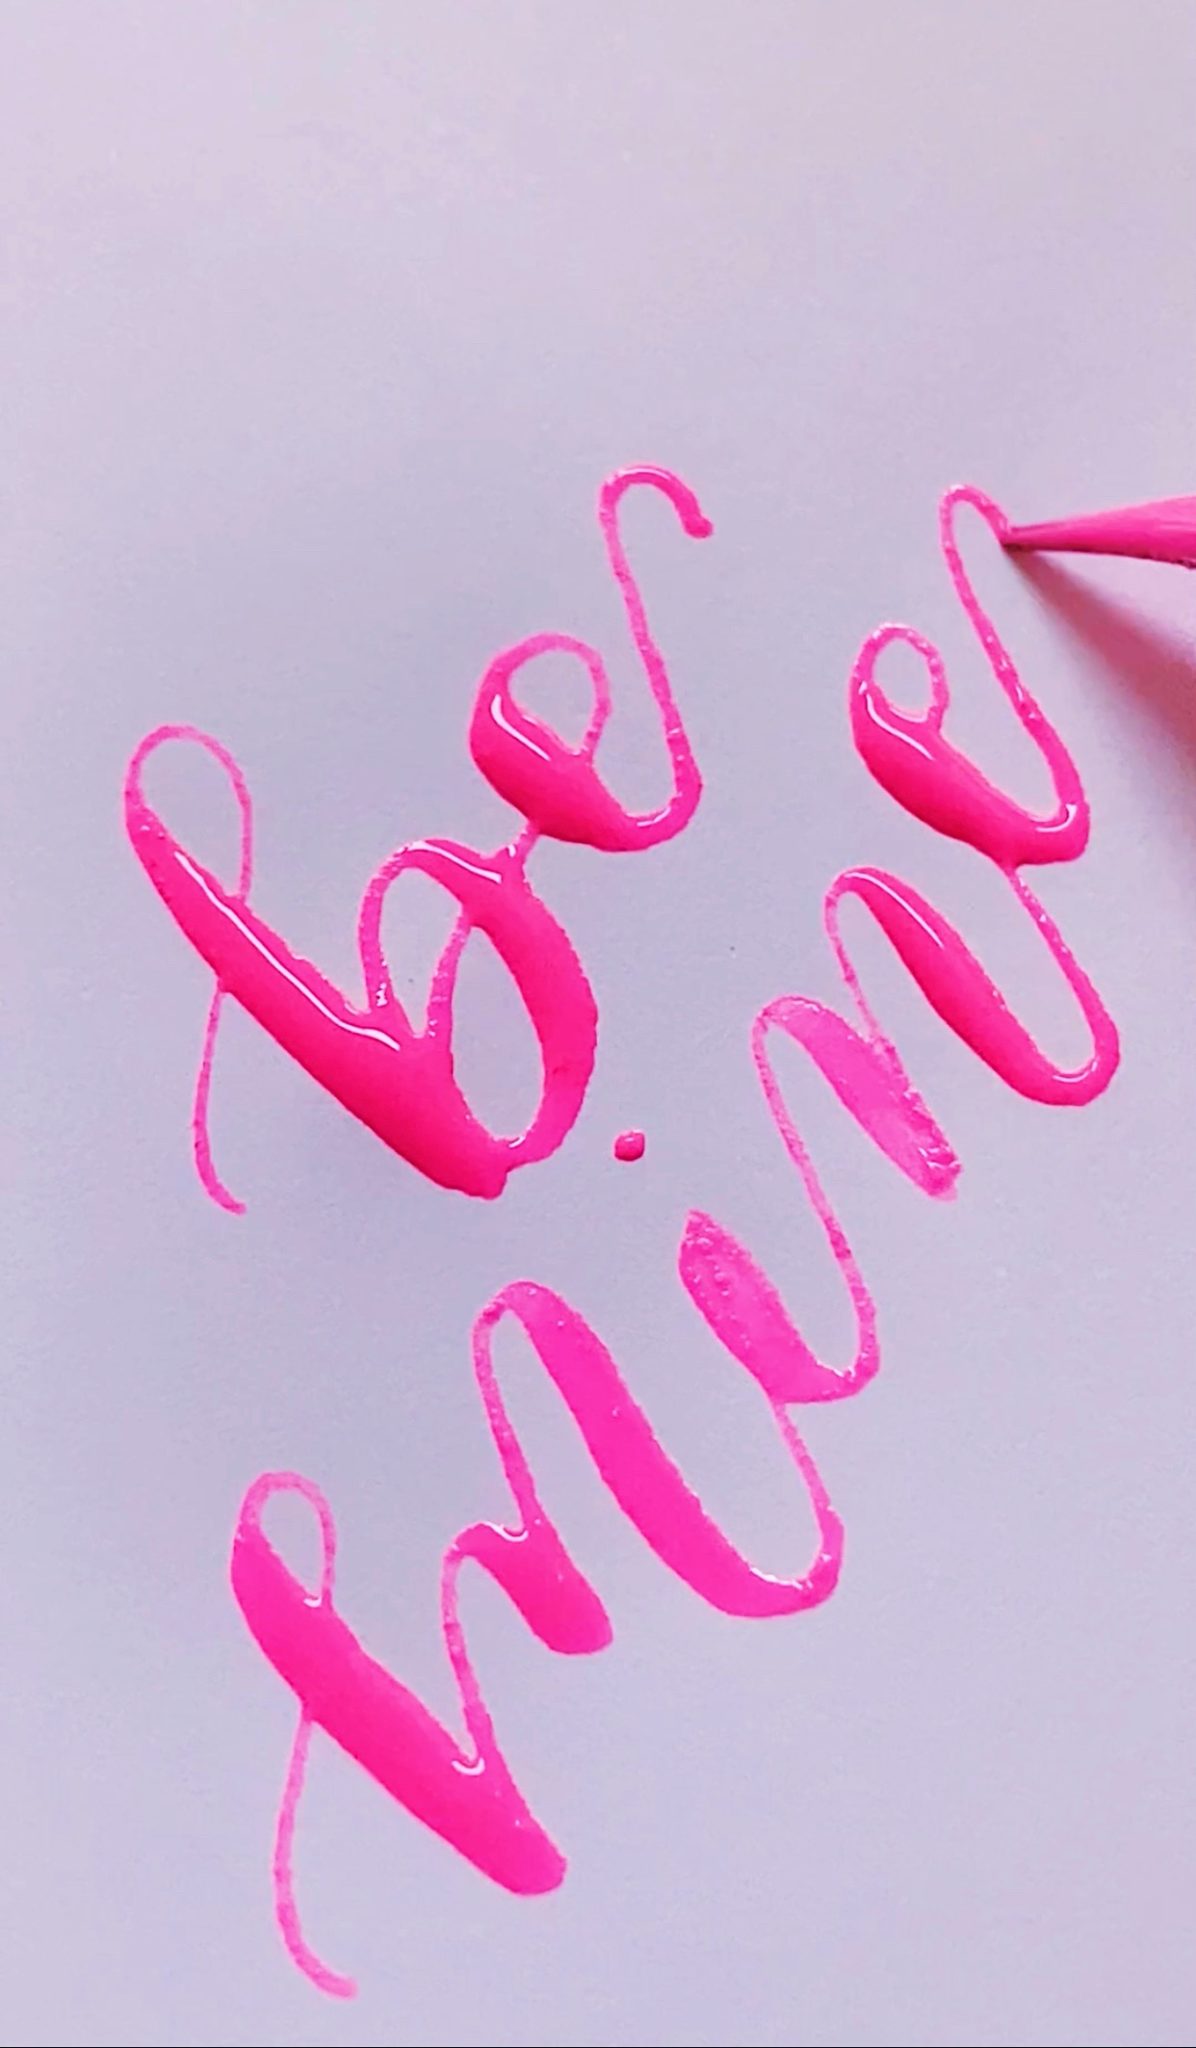
- Mix with your stirrer or back of your pen until the paint and water are blended. Add in additional paint colors if needed in order to achieve desired color. Here, we started with our magenta colored acryla-gouache paint, and added in some white and just a small drop of black to create a violet colored ink.
- Add more water until your ink is close to the consistency of whole milk. If your container seals well, throw the cap on and give your ink a good shake to make sure all of the pigment is blended together.
- Test the ink out! If it doesn’t flow smoothly from your pen, try adding in a small amount of Gum Arabic (size of a dime) into the ink pot and mix together, then test it again. It may take a few attempts to get it to the right consistency.
- Repeat steps until you’re happy with the consistency and color of the ink.
Tips:
- Like mentioned above, you can purchase a lower quality gouache, but keep in mind – the higher quality products you use, the better the results will be!
- If you’re looking to create a pastel color, start off with white and add in color gradually. Starting with a white base helps to keep a lighter tone overall.
- If you’re looking to create a deeper color, start off with a small amount of the color closest to what your desired look is, and add white or other necessary colors in slowly until you’re happy with the combination.
- If you created a gouache based ink in the past and it seems dry or sticky when reopening, slowly add water in one drop at a time, to see if you can bring it back to life.
- If you are making custom ink colors that requires mixing multiple gouache colors, write down the combination or take a photo for reference – your future self will thank you for the reminder! (Example: if you’re looking to create and match a specific color, like the infamous Tiffany Blue, you’ll need to mix multiple gouache paints to achieve the correct shade of turquoise. Keep track of how many drops of each color you use so you can recreate it again).
As always, let us know in the comments if you try making your own gouache-based ink! We love seeing your work, too, so make sure to tag us on Instagram so we can follow along on your lettering journey!
*this post contains affiliate links which means we earn a small percentage of anything purchased.

Pingback:Quincy Calligraphy- Sip and Script - Elevation Apartments in Quincy
Posted at 00:14h, 19 November[…] any gift. The team is excited for the new exciting inks that add extraordinary color! With Gouache Ink, Sip and Script allows your creativity to be loud. Meanwhile, there will be snacks and beverages as […]