
28 Aug Ten Tips Every Calligrapher Should Know Before Tackling Their First Place Card Order!
Whether you’re a calligraphy newbie, a soon-to-be Mrs./Mr., or just a crafty DIY-er, here are ten tips to make the place card process a bit smoother!
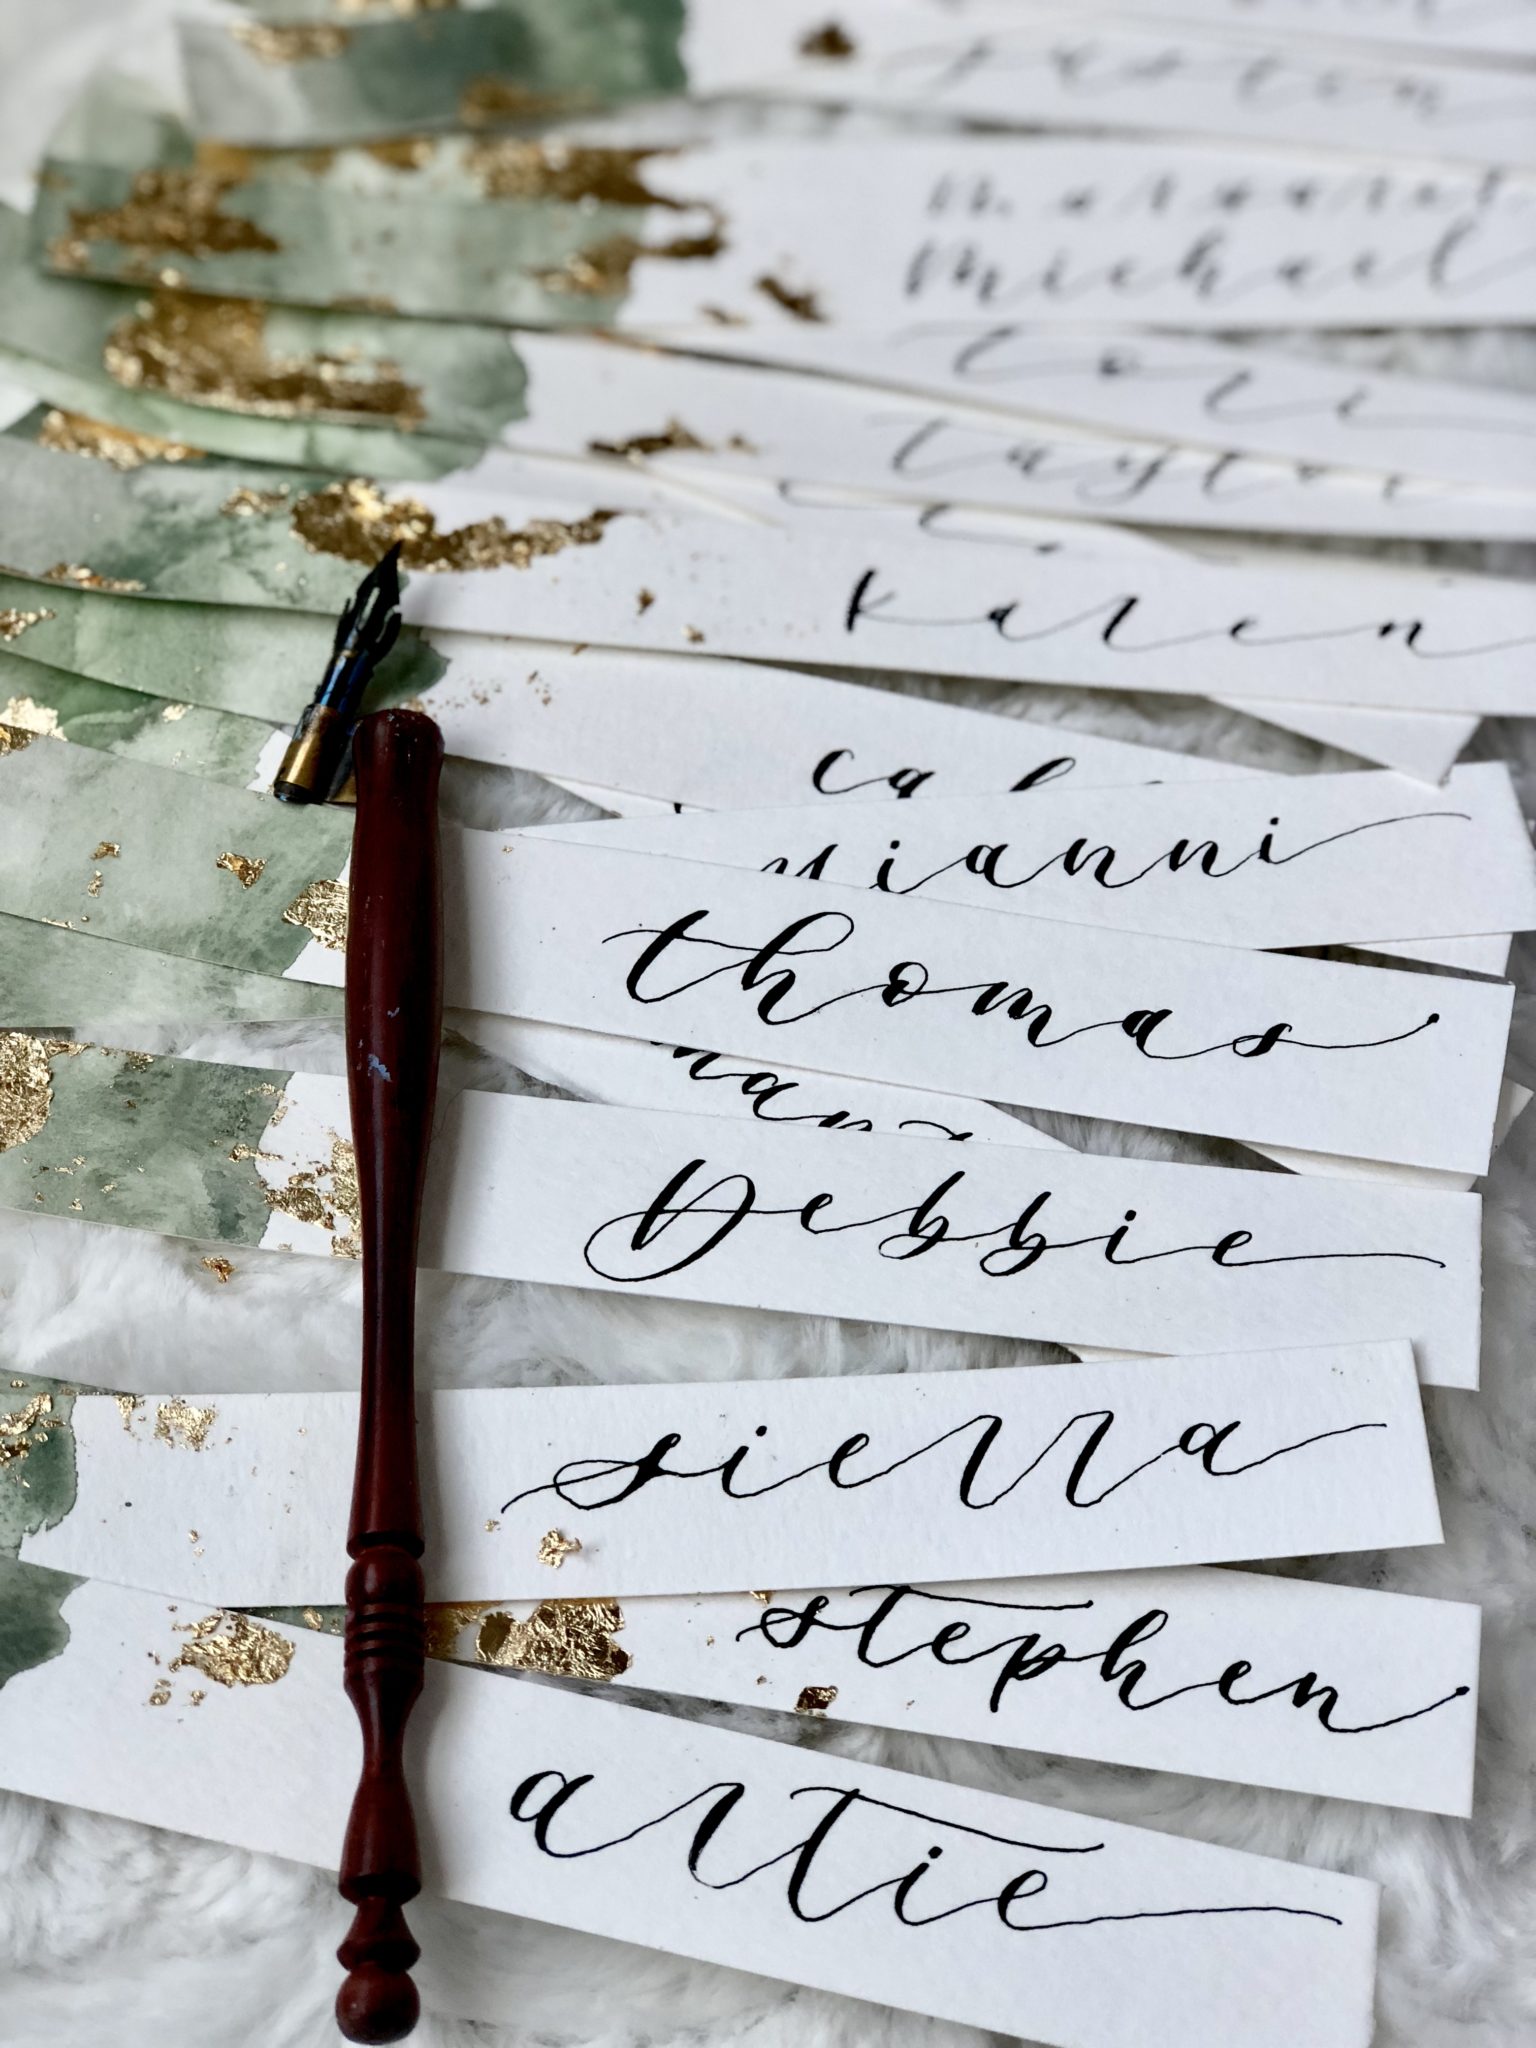
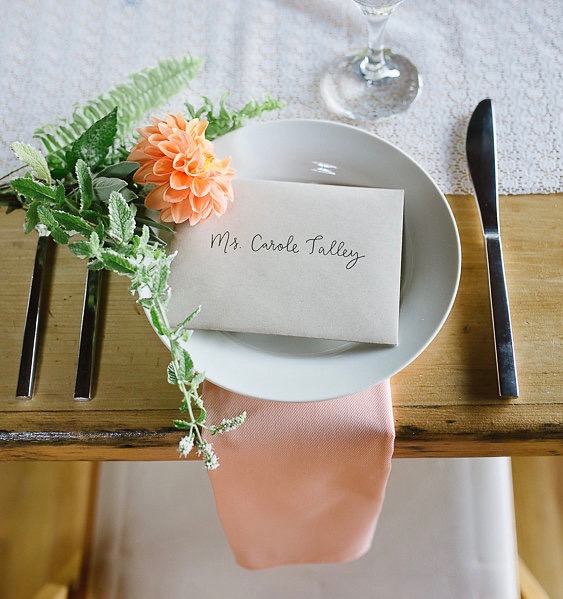
1. Create a design and choose a color palette first and foremost
Get creative – when thinking of place cards, you have SO many options! Beachy/nautical vibe wedding? Oyster shells and Capiz shells are the perfect touch for a sea-inspired day! Soft & Romantic vibe? Deckled-edge, handmade paper is our fave! Fall/New England vibe? Gourds are super fun! We’ve done a ton of different styles in our own wedding work, take a look below for some inspiration!

Work by Molly Petroski, photo by Meredith Jane Photography

Work by Molly Petroski, Photo by Bailey Q Photo

Work by Julie Mancini, photo by Savanah Loftus Photography

Work by Alyssa Drury, photo by Blueflash

Work by Alyssa Drury, photo by Blueflash

Work by Julie Mancini, Photo by Mon Petit Studio

Work by Meg Chaloner

Work by Meg Chaloner
Work by Julie Mancini, photo by Sara Freedman
2. Figure out all of the materials that you may need
Prep it all before starting the project. *Many calligraphers typically require 20% more paper/place card material than the required amount because mistakes happen. Make sure you buy enough of whatever product you are using and have some extra on hand for any errors/redo’s.
3. Can’t find a color that matches the palette you’re working with?
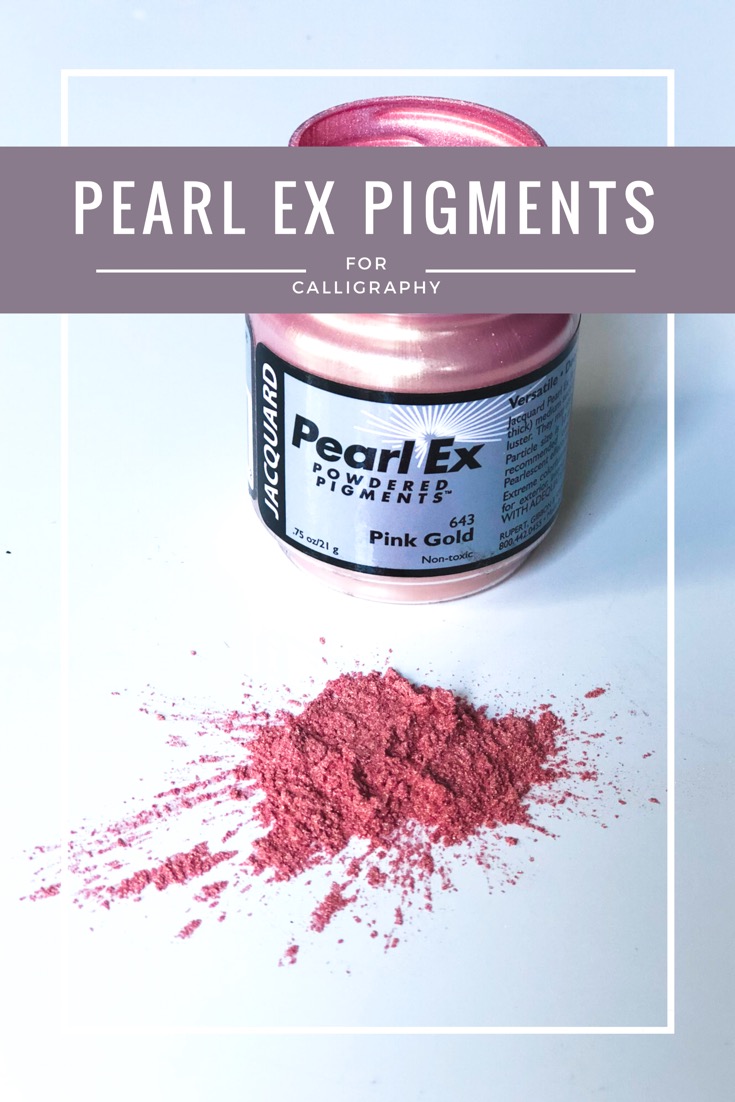
Make your own! We love making custom colors with gouache or Jacquard’s Pearl Ex pigmented powder. One major tip for creating custom colors? Make sure you either write down the exact measurements/ratios of the medium you are using, or MIX MORE THAN NEEDED! There’s nothing worse than getting halfway done with a project, only to realize you ran out of ink/paint and have to mix it again. Make sure you have enough so your colors are uniform throughout the entire project.
Fun fact: we have a blog post on how to mix the Jacquard’s Pear Ex powder. Click here to read it!


4. Before you even uncap your ink and start writing, try to organize your materials as an assembly line
This way you can repeat the steps in the correct order for each place card. This will save so much time, especially for larger orders!
5. PLAN!
Figure out how many individual pieces you have to do (i.e. how many place cards will you need in total?), and break up it up, giving yourself a schedule and REALISTIC timeline. If you’ve taken a class with us, you’ll know we tell you calligraphy is a SLOW process, and you don’t want to have to cram when the due date creeps up on you!
6. Figure out where you will dry each piece as you move onto the next
Make sure it’s free from pets, kids, and wind!

7. Once you’ve finished writing
Run through the guest list and make sure all guests are accounted for.
8. Spell-check!
9. Before handing the completed work off to the bride or to the venue
Make sure to organize the place cards by table/seating chart and keep it protected from transporting and weather.
10. Relax! Put on your favorite music, grab a glass of rosé, and enjoy the process!
Comment below if you’re feeling ready to take on a place card order! If you’re not there yet, head on over to our events page and sign up for a class with us! Happy lettering!


Jennifer K Call
Posted at 01:18h, 06 SeptemberGreat post . Thanks for sharng.
Jess Glazier
Posted at 14:44h, 06 SeptemberThanks so much for reading! If you try out any place cards we’d love to see your work!!