
16 Oct 5 TIPS FOR LEFT-HANDED CALLIGRAPHERS: FROM ONE LEFTY TO ANOTHER
Lefties, let’s face it: our world was designed for righties. Yes, we’re lucky they finally made lefty scissors and computer mice, but I think we all remember back when we had to awkwardly sit at a righty’s desk or take papers out of a 3-ring binder before being able to actually write on them. And don’t even get us started on can openers or spiral notebooks…
As if there aren’t enough disadvantages to being a lefty, calligraphy as a lefty poses its own set of challenges. But fear not, it also comes with a few advantages that’ll help you create beautiful handmade works of art. Below you’ll find our top five tips for lefty calligraphers that will help you to take your calligraphy to the next level!
1. Find the right angles
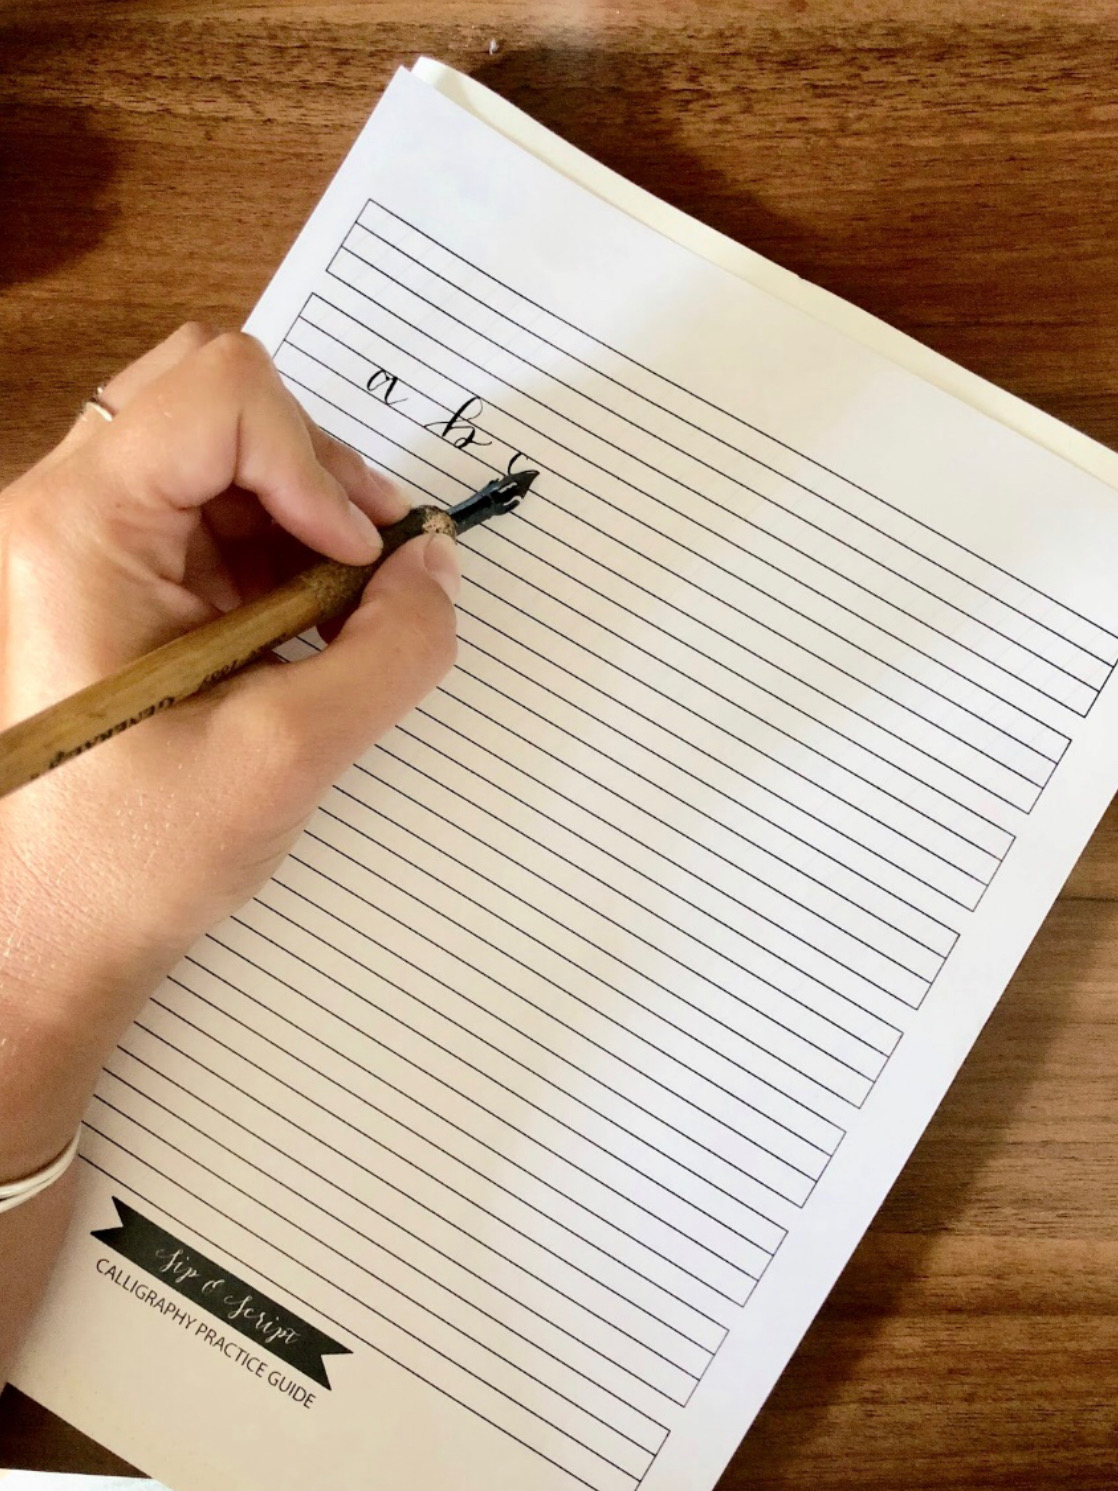
Just as we’ve had to figure out how to hold our pens and pencils to not drag our hand and smudge our writing, the same thing is necessary for dip pen. Some lefties are over-writers (curling their hand over the baseline) while others (like myself) are underwriters, writing with their wrist under the baseline.
Some lefty calligraphers take a more extreme angle with their pen (e.g. lower the pen so it’s closer to being parallel with the paper) and write with their hand underneath the actual writing. Playing around with good ol’ geometry can help you find the positioning that works best for you. We typically suggest our lefties start with a 45 degree angle and adjust for their comfort.

While you play around with the hand position that’s right for you, you can also adjust the angle of your paper. Turning your paper slightly clockwise may help an over-writer achieve the ideal comfort level without needing to drag his or her hand through ink.
2. Give yourself some space
Just like sitting next to your righty relatives at the Thanksgiving table creates some major spatial #leftyproblems, so does not giving yourself the necessary space to do calligraphy. When I was first starting out with brush pen calligraphy, I’d be cozied up on my couch, supporting and stabilizing my arm with my couch’s armrest and using only my wrist and hand. This made the transition to pointed pen at an actual desk more challenging because my left arm wasn’t prepared to move across a page along with my hand and wrist. So plan out your desk or table space before you start to write, and make sure your ink isn’t in your hand/arm path!
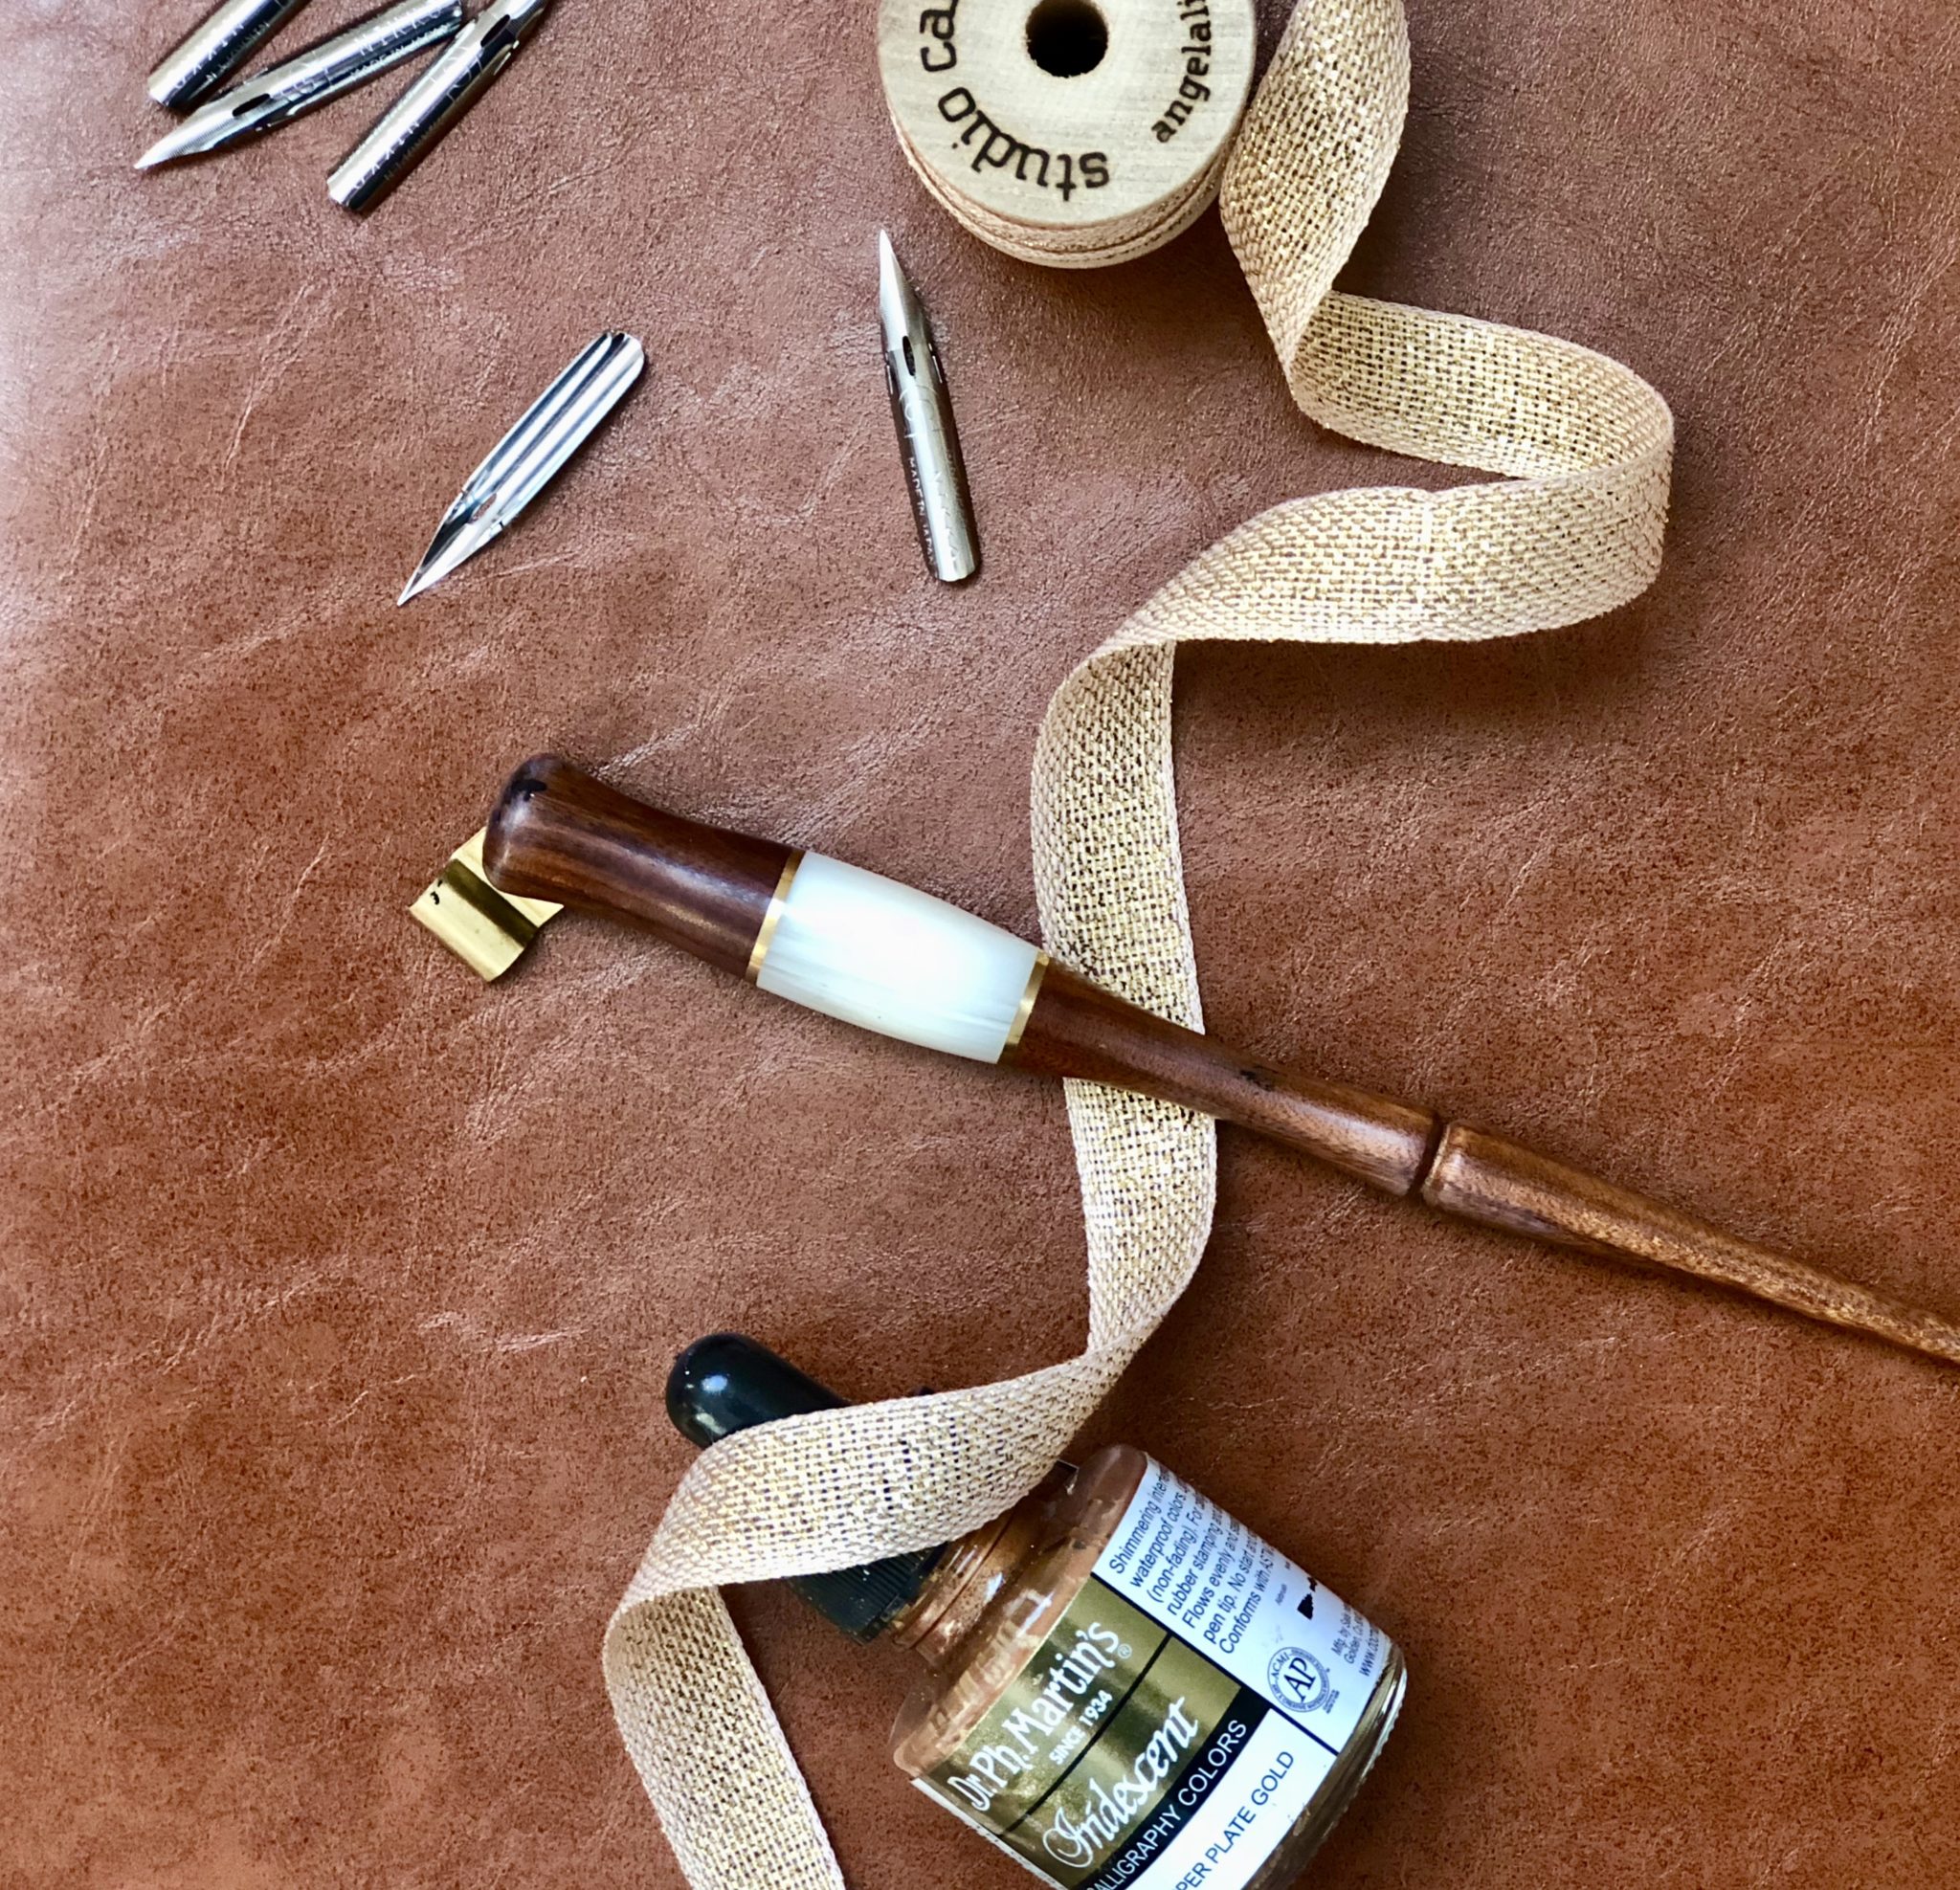
3. Try an oblique nib holder
If you’ve tried a straight holder and it’s just NOT working for you, grab yourself one of THESE oblique holders to see if it helps to avoid the dreaded smudge.
Even oblique pens were even invented with righties in mind (we can’t have any nice things!), because obliques make it easier to achieve a right-leaning italic slant. Lefties normally have a more natural slant due to the angle required for our paper and/or hand, so we don’t typically need an oblique pen. But if you’re looking for a way decrease the chances of dragging your hand through wet ink, an oblique pen may be your new best friend.
Oblique pens take some playing around with; it can be odd to see your writing appearing ahead of your hand, but for some lefties they are a total game-changer!
4) Find your favorite nib(s)
Another group calligraphers categorize themselves into is heavy- versus light-handed. The preferred pressure you apply to your calligraphy pen doesn’t depend on whether you’re lefty or righty: I’m a relatively heavy-handed lefty, and I know both light-handed lefties and righties. The pressure you prefer to apply to your pen may determine which nibs you like best, though. Each nib is different due to the length of the tines; the longer the tines, the more flexile the nib, and the more ink that flows when pressure is applied. The angle lefties require for their hand may require a more flexible nib to get ink flowing, but we’ve truly seen a 50/50 split on nib preference in our classes! My personal favorite nib is the Brause Steno aka Blue Pumpkin — it has a medium-to-strong flex that gives you strong downstrokes and super-fine upstrokes, and bonus – it holds a good amount of ink!
5. Be patient
This isn’t just a lefty tip – it’s true for any and all new calligraphers! I probably repeat this too many times in class, but it’s true. I spent hours practicing in the beginning, and it didn’t come easy to me. But unlike other hobbies I’ve picked up over the years, even though I wasn’t “good” at calligraphy at first, the benefits of practicing outweighed the frustration and impatience to make pretty things. Lefties may have a little more adjusting to do in order to get their positioning, angle and hand right, but both lefties and righties need patience and plenty of practice to see progress over time. Even the most famous calligraphers still do practice drills, so make sure you’re investing time and patience into your own work!
Hopefully these tips will help you navigate the world of lefty-calligraphy. We’d love to see your work, tag us on instagram (@sipandscript) or comment below with any questions! Happy lettering, friends!
Author: Alyssa Drury
Alyssa can be reached alyssasipandscript@gmail.com, click here to sign up for one of her upcoming Sip & Script classes!

No Comments